Saturday 30 June 2012

Shahi-Pulav (Rice cooked with Dry Fruits)

Shahi Pulav (Rice and Dry Fruits Pulav)
A rich and wonderful pulav rich in nutrition and delight to eyes and taste buds is a very easy to make. Dry fruits are present in every kitchen be it Indian or any part of the world. Rice is also an integral part of the kitchen. When you have a party to arrange just try this pulav along with the other fare you plan to make your guests will be surprised at by your planning the menu. I used to make it quiet often when the cooked rice used to be left from the dinner or lunch, and pack it in the lunch box of my children. The smile they used to give when they used to be back from school used to make my day. So why should you not try such a rewarding recipe. I am sharing with you all, you have to make it and enjoy with your friends and family.

Preparation Time: 10min.
Cooking Time: 30min.
Servings: 5-6 Large servings

Ingredients Required for Making Shahi-Pulav:
  • 250 gm. Basmati Rice
  • 50 -75 gm. Cashew nuts
  • 50 gm. Almonds
  • 50 gm. Raisins
  • 3-4 Green Cardamom
Green Cardamom
  • 1-2 Pieces of Javitri (dry flower of nutmeg)
Javitri
  • 4-5 Cloves
Cloves
  • 1 Tea spoon Shah Jeera ( Black cumin seeds)
Shah Jeera (Black Cumin Seeds)
  • 1/2 Tea spoon Turmeric Powder
  • 1 Tea spoon Red chili Powder
  • 1 Tea spoon Sugar
  • Salt to taste
  • 50 gm. Ghee (4 heaped tea spoon ghee) / Olive oil / cooking oil.
Direction for Making Shahi-Pulav:
  • Wash rice.
  • Take in a thick bottom container washed rice and 500 ml. water and keep the container on gas on high flame without covering it.
  • Let the contents boil.
  • Do not stir.
  • Cover the container and cook till rice becomes soft (approximately 20min.).
  • Remove from gas and immediately drain excess of water by sieving it.
  • Pour water on the rice in the sieve to remove excess starch so that the rice grains do not stick to each other.
  • Keep aside for cooling.
Rice Boiled to soft texture and then washed with fresh water to remove excess starch
  • Cut Almonds and cashew nuts to 2-3 mm. pieces (each almond and cashew to 2-3 piece).
  • Take a thick bottom wok and take ghee in it and heat on high flame.
Ghee being heated
  • To hot ghee add broken cardamom, Shah jeera (black cumin), Javitri, cloves, and cook for 1 min.
Shah jeera, cardamom, javitri added to hot ghee
  • Add cut almonds and cashew nuts and cook till gain golden color. 
Almonds and cashew nuts added to hot ghee and spices
Ready for adding boiled rice
  • Add boiled rice to it and mix nicely.
  • Cover and cook for 2-3 min.
Boiled rice added to spices and dry fruits mixture in ghee
  • Add turmeric powder, salt,red chili powder and mix nicely.
Turmeric powder, salt, red chili powder added to rice, spices and dry fruit mixture in ghee
  • Add raisins and sugar and stir.
Sugar and raisins added ti rice mixture
  • Cook for 2-3 min. without covering and remove from gas.
  • Take out in a serving plate and serve hot. Add few drops of lemon juice and the color will become beautiful yellow.
Shahi Pulav
Shahi pulav after adding few drops of lemon
  Raeally speaking it looks so fabulous that garnishing is not required but if you want use some slices of apple / seeds of fresh pomegranate for garnishing Shahi-Pulav.

Tips:
  • Though the taste comes out best with ghee(clarified butter), yet those who for health reason do not eat ghee can replace it with cooking oil. Preferably Olive oil.
  • Do not cook rice to extreme softness else the Pulav will not come out well.
  • If you are not comfortable with boiling rice in the open container then cook it in pressure cooker.
  • Do not over fry the almonds and cashew else they will not taste good in pulav.
  • Drain water from boiled nicely so that each grain of boiled rice is separated.
  • Any rice can be used for making the pulav but best results are obtained if Basmati rice is taken.

Suggested Variations:
  • Pistachios, dry seeds of water melon (gabz), dry seeds of cucumber can also be added along with almonds and cashew nut.
  • You can boil rice with little Shah jeera and salt to enhance the jeera flavor.

Rice boiled with Shah Jeera( black cumin seeds)

Friday 29 June 2012

Cottage cheese kofta /पनीर के कोफ्ते की सब्ज़ी

Gul-Gula-Kofta
I call it Gul- Gula-kofta some may Say Paneer kofta but the taste of the recipe I am to write surely will not change because of what it is called. A rose will smell as good when called by any other name also.
One day when I was making Rasogolla, I forgot to remove the cream from the milk for the first batch of paneer I made for Rasogolla .I wanted to make something new  other than the Paneer ki sabji to surprise my family. So I came up with these Koftas. I call them Gul- Gula-Kofta because they melt in mouth and disappear from plate in a jiffy. So can there be better name than Gul-Gula-Kofta.

Preparation Time: 30min.
Cooking Time:30-40min.
Servings: 5-6 large servings

Ingredients for Gul-Gula-Kofta:
  • 200 gm. Paneer (Cottage cheese)
  • 2 Medium size Potatoes
  • 1 Medium size onion
  • 1-2 Green Chilies
  • 1-2 Sprigs of Fresh Green Coriander leaves
  • 5-6 Cashew nuts
  • 50-75 gm. Corn Flour
  • Salt to taste
  • Oil for frying
Ingredients for Gravy of Gul-Gula-Kofta:
  • 2 Medium size Onions
  • 4-5 Cloves of garlic
  • 2-3 cm. Piece of Ginger
  • 1 Medium size Tomato
  • 2cm. Piece of Cinnamon
  • 2-3 Cloves
  • 2 Bay leaves
  • 10-15 ml. Cream
Direction for Making Gul-Gula-Kofta:
  • Peel and cut onion finely.
  • Wash coriander nicely, drain water by keeping it on a sieve for some time, then cut finely.
  • Wash and cut green chilies finely.
  • Mash Paneer.
  • Cut cashew nut to small pieces.
  • In a bowl take:
    • Mashed paneer
    • Finely cut onions
    • Finely cut green chilies
    • Finely cut coriander sprigs
    • 2 Tea spoon corn flour
    • Salt
  • Mix them nicely.
Paneer mixture for Gul-Gula-Kofta
  • Make small balls of the paneer mixture make a depression in the center and put 2-3 pieces of cashew nut, close firmly and make to round ball again
  •  Roll them in corn flour till they are coated with corn flour from all sides nicely.
Paneer mixture balls rolled in corn flour
  • Let them stand in a plate for 5min.
  • Take 200ml. oil in a wok and heat on high flame till it is smoking hot.
  • Lower the flame.
  • Put the paneer balls coated with corn flour one by one and fry them on low flame, turning them slowly and with soft hand till they become golden brown from all sides.
Kofta being fried
  • Take them out in a plate and allow them to cool.
Fried Gul-Gula-Kofta
  • Gul-Koftas are ready to be put in gravy and made to lip smacking vegetable.

Direction for making Gravy:
  • Peel and cut onions, garlic and grate ginger.
  • Cut Tomato.
  • Take 10 ml. cooking oil in a wok and heat it in high flame.
  • When the oil is hot then add to it bay leaves, cloves and cinnamon.
  • Let it cook for 30sec.
  • Add cut onions and cook with regular stirring till they turn golden brown.
  • Add garlic and ginger and cook for one min.
  • Add tomato and cook till tomato pieces get cooked and become soft.
  • Remove from gas and cool.
  • Grind it to make a fine paste.
  • Take a thick bottom pan take 5 ml. oil in it heat till smoking hot add
    • Bay leaves
    • Cloves Cinnamon stick cook for 30sec.
    • Add the paste of onion and spices made earlier and cook for 1 min.
    • Add 200ml. water
    • Red chili powder
    • Kashmiri Mirchi Powder
    • Salt and mix nicely.
  • Cook for 5 min.
  • Take out the gravy in a serving bowl and add the Gul-Koftas in it.
  •  Turn the Gul-Koftas in gravy once with real smooth hand and add cream at the top.
,medium
Tips:
  • Make the gravy thinner than you want to serve as the Gul-Koftas will absorb the liquid and make the gravy thick.
  • Do not cover the Gul-Koftas while they are getting cooled.
  • Add Gul-Gula-Koftas in the hot gravy rather than heating the gravy after adding the Gul-Koftas.
  • Add Gul-Koftas just before serving.
  • Do not fry the Gul-Gula-Koftas on high flame they will become brown from outside but will be uncooked from inside.
Suggested Variations:
  • Make Creamy Delicious gravy
    http://jyotsna-pant.blogspot.com/2011/11/white-gravy-2.html
    or Gravy Lazawab
    http://jyotsna-pant.blogspot.com/2011/11/white-gravy-1.html
    and put koftas in it to have variation of the same koftas vegetable
  • Cashew nuts can be replaced by Raisins / Tuti fruity.
  • In the gravy one or two tea spoons of cashew powder / roasted ground nut powder /roasted sesame seeds powder can be added to thicken the gravy and changing the taste.
  • While making the rolls add some bread crumbs and instead of rolling in roll in bread crumbs then fry it will make an excellent snack. Enjoy these crisp paneer roll with coriander-mint chutney
    http://jyotsna-pant.blogspot.com/2011/10/green-coriander-and-mint-chutney.html
    or Hariyali chutney.
    http://jyotsna-pant.blogspot.com/2012/06/hariyali-chutney-raw-mango-chutney.html

Wednesday 27 June 2012

Hariyali Chutney/कच्चे आम की चटनी ( Raw Mango Chutney)


Hariyali chutney


Apart from pickles raw mango can be made to tongue tickling chutney or sweet murrabba. Murrabba can be stored for long time like pickle but chutney can be stored in fridge for 10-15 days and in freezer for 3-4 months.
Different version of mango chutney is made in Northern India. But I have my version of mango chutney and my friends and family just love it. If it is season of raw mango then this chutney and chana dal vada would be my sons most loved snack. It is not simply an accompaniment to an appetizer or snack, but as a side dish to every meal.  This chutney is extremely good for making vegetable sandwiches,
Because this chutney has mint, cumin, coriander thus it not only enhances the taste but also aides in digestion. Garlic in this chutney gives relief in flatulence (gas trouble).

Preparation Time: 10 min.
Making Time: 5min.
Servings: Makes 20-25 small helpings

Ingredients required for Mango Chutney:
  • 1 Medium Raw Mango
Raw Mangoes
  • One small onion
  • 5-6 Cloves of Garlic
  • 1-2 Green chilies
Green Chilies
  • 1/2 Tea spoon Cumin seeds
  • 5-6 Sprigs of fresh green coriander leaves
Fresh Green Coriander sprigs
  • 30-40 Fresh leaves of Mint
Mint leaves
  • 10-15 gm. Jaggery
Jagerry
  • Salt to taste

Direction for Making Raw Mango chutney

  • Wash the mango and peel it.
  • Cut the peeled mango to small pieces.
Peeled and cut Raw Mango
  • Wash drain and cut coriander sprigs.
  • Wash mint leaves.
  • Wash and cut green chilies.
  • Peel onion and cut to pieces.
  • Peel garlic. 
  • Take in a bowl
    • Mango pieces
    • Onion pieces
    • Garlic
Raw mango pieces, onion pieces, Garlic and green chili pieces for Hariyali chutney
    • Chopped Coriander sprigs.
Mango, Onion,Garlic, Coriander leaves and green chili for Hariyali chutney
    • Mint leaves
    • Cut green chilies
    • Salt
    • Cumin seeds
  • Put in a grinder -mixer and grind to fine paste.
  • Add jaggery and again grind to make a homogenous paste.
Hariyali Chutney
  • Take out in a container with a lid and store it in the fridge and use as and when required.
Tips:
  • Add water in little amounts while grinding.
  • The amount of cumin seeds, onion, and garlic can be increased or decreased as per the taste or to change the flavor.
  •  This chutney can be taken while a person is having upset stomach as it has digestion aiding ingredients.
  • Make ice cubes of the chutney in an ice tray and store in the freezer. When required take a cube of chutney let it melt at room temperature and use it.
Suggested Variations:
  • Since, I like this proportion of ingredients in the chutney so much, that I really would not suggest variations.
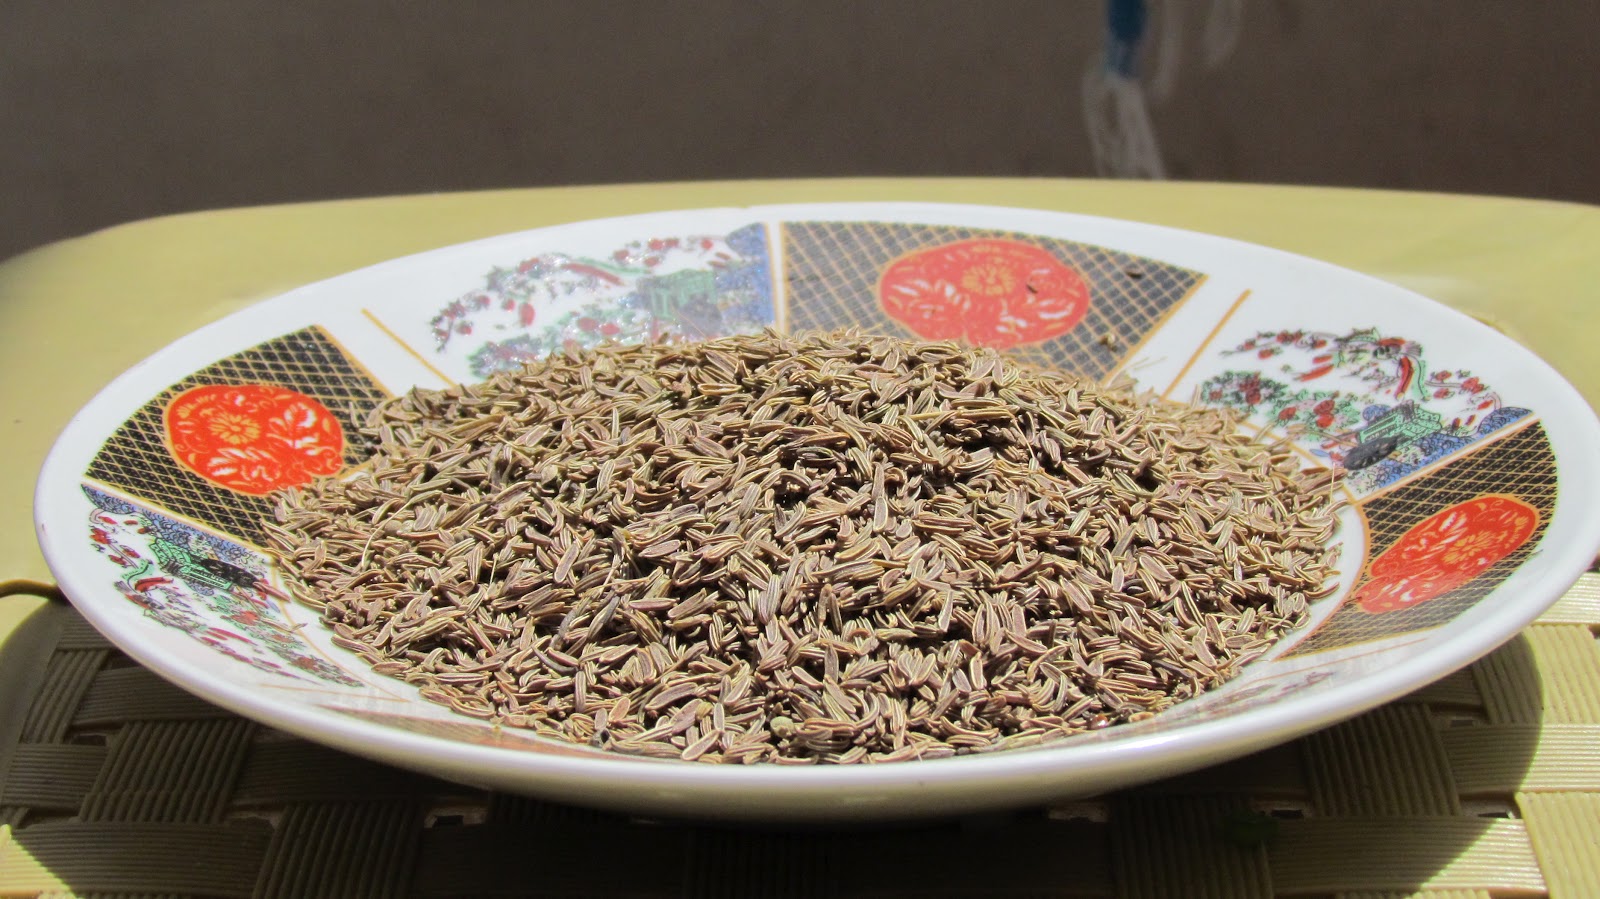
  • Yet if one wishes to do away with onion and garlic, then it is suggested that some kala jeera should replace them to maintain the digestive property and sharp tangy taste.

Tuesday 26 June 2012

Dubke ( Thick gravy of dal paste with pakodas )


Dubke
Dubke are special dish made in Kumaon, Uttarakhand, India. At is a wonderful variation of dal dish, as main course and accompaniment to rice. In the chill of morning when steaming hot Dubke are placed before me with steaming hot rice and a dollop of Ghee I feel that I am eating the best meal of my life. Because not only dubke is my favorite dis but also it is cooked and served by my mother. Mothers love makes everything super tasty. So make it instead of regular dal-chawal. Your family will love this dal dish

Preparation Time: 10min. (Dal soaking time not included)
Cooking Time: 30 min. (approximately)
Servings: 4 large helpings

Ingredients Required for Making Dubke:
  • 100 gm. Tur Dal (Arhar dal)
  • 2 Medium size Tomatoes
  • Salt to taste
  • 1/2Tea spoon Turmeric Powder
  • 2Tea spoon Cumin seeds
  • 2Tea spoon Mustard seeds
  • 1-2 Whole Red Chilies
Spices for Dubke
  •  1/2 Tea spoon Jambu (A herb found in Kumaon region of India)
Jambu (A herb grown in higher altitude of Kumaon (India) and Nepal
  • 1 Tea spoon Ghee (Clarified Butter)
  • Few sprigs of coriander leaves
  • Cooking oil for frying
  • Water

Directions for Making Dubke:
  • Wash and soak dal in water for 3-4 hrs.
  • Drain all water from the soaked dal and grind it to thick fine paste.
  • Take half of the dal paste and add salt and 1/2 tea spoon of cumin seeds to it.
  • Take oil in wok and heat it to smoking hot.
  • Lower the flame and make pakodas of the dal paste with salt and cumin seeds.
  • Put the pakodas of dal in water and allow them to soak.
Soaked Pakodas
  • Make paste of tomatoes.
  • Slit the green chilies and deseed them and cut to small pieces.
  • Take 5ml. oil in the wok and heat it on high flame.
  • When the oil is smoking hot put 1/2tea spoon cumin seeds, 1/2teaspoon mustard seeds and let them splutter.
  • Add green chili pieces and asafoetida and immediately put the remaining paste of dal and cook it with vigorous stirring for a min.
  • Add 200 ml. water and cook on low flame with continuous mixing till all paste and water make a homogenous mixture.
Paste of dal cooked with spices and made to lump less mixture
  • Add Turmeric powder and salt.
  • Add 250 ml. water and cook on high flame high flame till it starts boiling.
  • Lower the flame and cook for 15-20min. with occasional stirring.
Dal paste being cooked with spices
  • Add paste of tomato and 100ml. water and cook for another 10min.
  • Add the soaked pakodas and nd cook for another 5 min.
Tomato paste and Pakodas being cooked in Dubke
  • Remove the wok from gas.
  • Dubke with pakodas is ready.
Dubke ready for Seasoning
  • Take out dubke in a serving bowl.
  • In a pan take ghee heat it.
  • When the oil becomes smoking hot add mustard seeds, cumin seeds, whole red chili and in the last Jambu.
  • Wonderful smell of Jambu along with cumin and mustard seeds will come.
  • Immediately pour the ghee with all ingredients on the dubke.
Dubke
  • Garnish with Coriander leaves or just enjoy it without garnishing with hot rice, Palak ka kappa ( A kumauni preparation of spinach) and mango pickle
    http://jyotsna-pant.blogspot.com/2012/06/mango-pickle-north-indian-style.html
Tips:
  • Do not add too much water while grinding else paste will become thin and you will not be able to make pakodas.
  • While cooking the paste for dubke if in the starting small lumps are formed do not worry but press them to the wall of wok with the spoon and dissolve in the water present in the wok.
  • Jambu is an herb grown in higher altitude of Kumaon hill and Nepal. It is daily used for seasoning dal, dubke and vegetables in Kumaon. Its flavor comes best when ghee is used. So do not replace ghee with oil if you can get Jambu.
  • Do not worry if you do not have Jambu, you can yet make and enjoy this authentic Kumauni dish.
Suggested Variations:

  • Tur dal can be replaced by green moong dal, yellow moong dal, Masoor dal.
  • Tomato paste can be replaced by raw mango pieces or amchur powder, but do not add tamarind or tamarind paste the original color and taste of dubke will change.

Tuesday 19 June 2012

Spicy Mixed Vegetable Pickle /सब्जियों का चटपटा अचार (Less oily nutritious vegetable pickle)


Mixed Vegetable pickle
Spicy Mixed Vegetable Pickle
Vegetables are the source of most of the vitamins, and minerals. Carrots, Cauliflower, Turnip and Radish are rich in vitamin A, Potassium, and sulfur. These vegetables are available in plenty and are very juicy in winter season, so they can be made to pickle and enjoyed in off season also. Once you have this pickle you will want to make it when red juicy carrots are available in the market. Children also love this pickle and eat all these vegetables without any cribbing. One of the best way of making children eat vegetables. My children demand for this pickle is never ending, so even when red carrots are not available I make it with Rabbit carrots (Orange carrots). The mustard present in it has medicinal value also, as it is good for blood circulation. The pickle being less oily can also be taken by those suffering from high cholesterol and heart problem also but in moderate amount.

Preparation Time: 30 min.
Making Time: 60 min.
Serving: Makes 500 gm Pickle ( Approximately)
Ingredients Required for Making Vegetable Pickle:
  • 3-4 Medium size Carrots (250 gm.)
Carrots
  •  2-3 Medium size Turnips (250gm.)
Turnips
  • 2-3 Medium size Radishes (250 gm.)
Radish
  • 250 gm. Cauliflower
  • 50gm. Mustard seeds ((n case yellow mustard seeds are available then use them in preference to black mustard seeds)
  • 4-5 Whole Red Chilies
  • 50-75 gm. Jaggery
  • 10 gm. Red chili Powder


Red Chili Powder
  • 10gm. Kashmiri mirchi Powder

Kashmiri mirchi Powder
  • 1 Tea spoon Turmeric powder
  • Salt to taste
  • 50ml. Cooking oil (Mustard oil / Ground nut oil), 20 ml. Vinegar
  • Water 
Direction for Making Vegetable Pickle:
  • Remove the leaves of carrot, turnip and radish.
Carrot Pieces
Turnip Pieces
Radish Pieces
  • Clean nicely with lots of water.
  • Cut each to 4-5 cm. long and half a centimeter thick pieces.
  • Clean and wash cauliflower nicely and cut to long florets.
Cauliflower florets
  • Take 500 ml. water in a container add 10 ml. Vinegar, 2 teaspoon salt and 1 teaspoon turmeric powder.
  • Keep the container on high heat and boil it.
  • When water starts boiling, put carrot, turnip and radish pieces and boil for just 2 min., with occasional stirring.
  • The vegetable pieces should become bit soft to touch and will change the color.
Carrot, Turnip and Radish pieces being boiled
  • Remove the vegetables from water and allow them to cool.
  • Add florets of cauliflower in the same boiling water and boil for 2 min. with occasional stirring.
Cauliflower florets being boiled
  • The cauliflower florets will change color but remain firm to touch.
  • Remove cauliflower florets from water; drain any water if left in cauliflower florets.
  • Keep all boiled vegetables together under the sun for 30min. if the sunlight is strong and 60 min. if the sunlight is weak.
Boiled Vegetables
  • While the excess moisture of the vegetables is evaporating under the sun grind the mustard seeds to coarse powder.
Mustard seeds Powder
  •  Break jaggery to small pieces.
  • Take thick bottom wok put oil in it and heat on high flame.
Oil heated in wok
  • When the oil becomes hot, put 4-5 whole red chilies and mustard seed powder.
Whole Red Chili added to Hot oil

Mustard powder added to the oil
  • Cook for one min. and immediately add all boiled vegetables.
  • Mix thoroughly and cook for one min.
Boiled vegetables added and mixed thoroughly
  • Add red chili powder, Kashmiri chili powder and salt and mix nicely.
Chili powder, Kashmiri mirchi powder, salt added to the vegetables
spices mixed to the boiled vegetables and being cooked
  • Add 50 ml. Vinegar  and mix nicely.
  • Add 10 ml. Vinegar, jaggery and mix.
Vinegar and jaggery added to vegetables and spices
  • Cook for just one minute. Switch off the heat. Let it cool.
Vegetables being cooked in vinegar and spices
Mixed Vegetable Pickle Ready to be cooled
  • Remove from gas.
  • Allow it to cool.
Mixed Vegetable Pickle ready to be bottled
  • Bottle it in a dry glass bottle.
Mixed Vegetable Pickle
  • This ever green pickle can be taken in any meal as side dish.
Tips:
  • The amount of jaggery, salt, chili can be increased or decreased according to personal taste.
  • This recipe pickle will be slightly on the sweeter side along with tangy taste, the quantity of jaggery can be reduced if you prefer less sweet taste.
  • The vegetables be just little soft to touch after boiling. If they are boiled to too much softness the pickle will not taste good, also all nutritive value of vegetables will be lost.
  • Even if one or the other vegetable are not available vegetable pickle can yet be made.
  •  If you prefer less tangy taste decrease mustard seeds to 75gm.
  • Never boil cauliflower with turnip and radish.
  • Reduce the quantity of jaggery if  turnip and radish are not being put in pickle
  • Use dry utensils and dry bottle for pickle..
Suggested Variations:
  • Boiled pieces of beet root can also be added. It will not only give a wonderful color to pickle but increase its nutritive value.
  • Boiled peas can also be added in the pickle along with rest of the vegetables.
  • Clean chick peas (chole) and add before bottling, after some days they will soak the juices of pickle and swell up and taste wonderful.
  • Hing (asafoetida) can be added to hot oil along with other spices to change the flavor of pickle.
  • Instead of par boiling the vegetables they can be steamed. Steaming retains the nutrients, color and texture better than par boiling. 


For steaming vegetables fill a wok /pan to half of it's capacities. Place vegetables in a sieve. Place sieve with vegetables on the wok /pan as such that it remains above water. Cover the sieve and let water boil. Steam the vegetables for 2 to 3 minutes. 
Rest procedure remains same. 

LinkWithin

Related Posts Plugin for WordPress, Blogger...