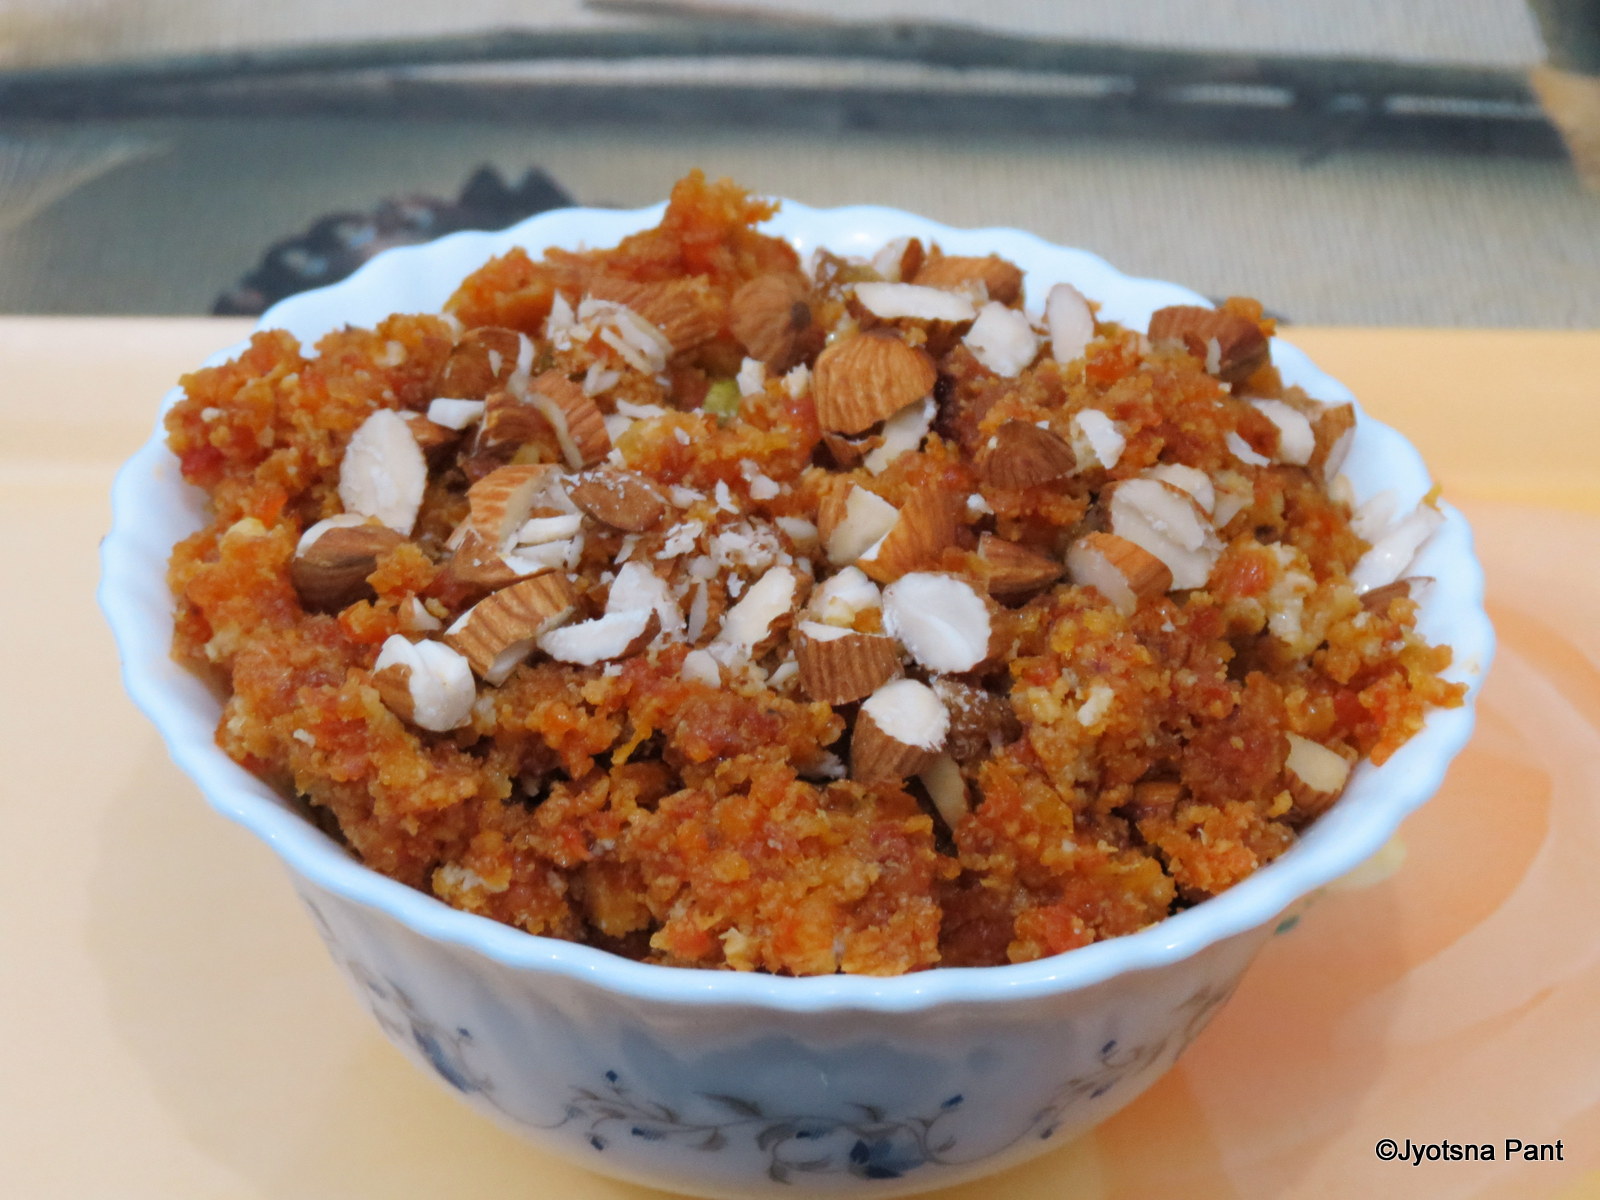
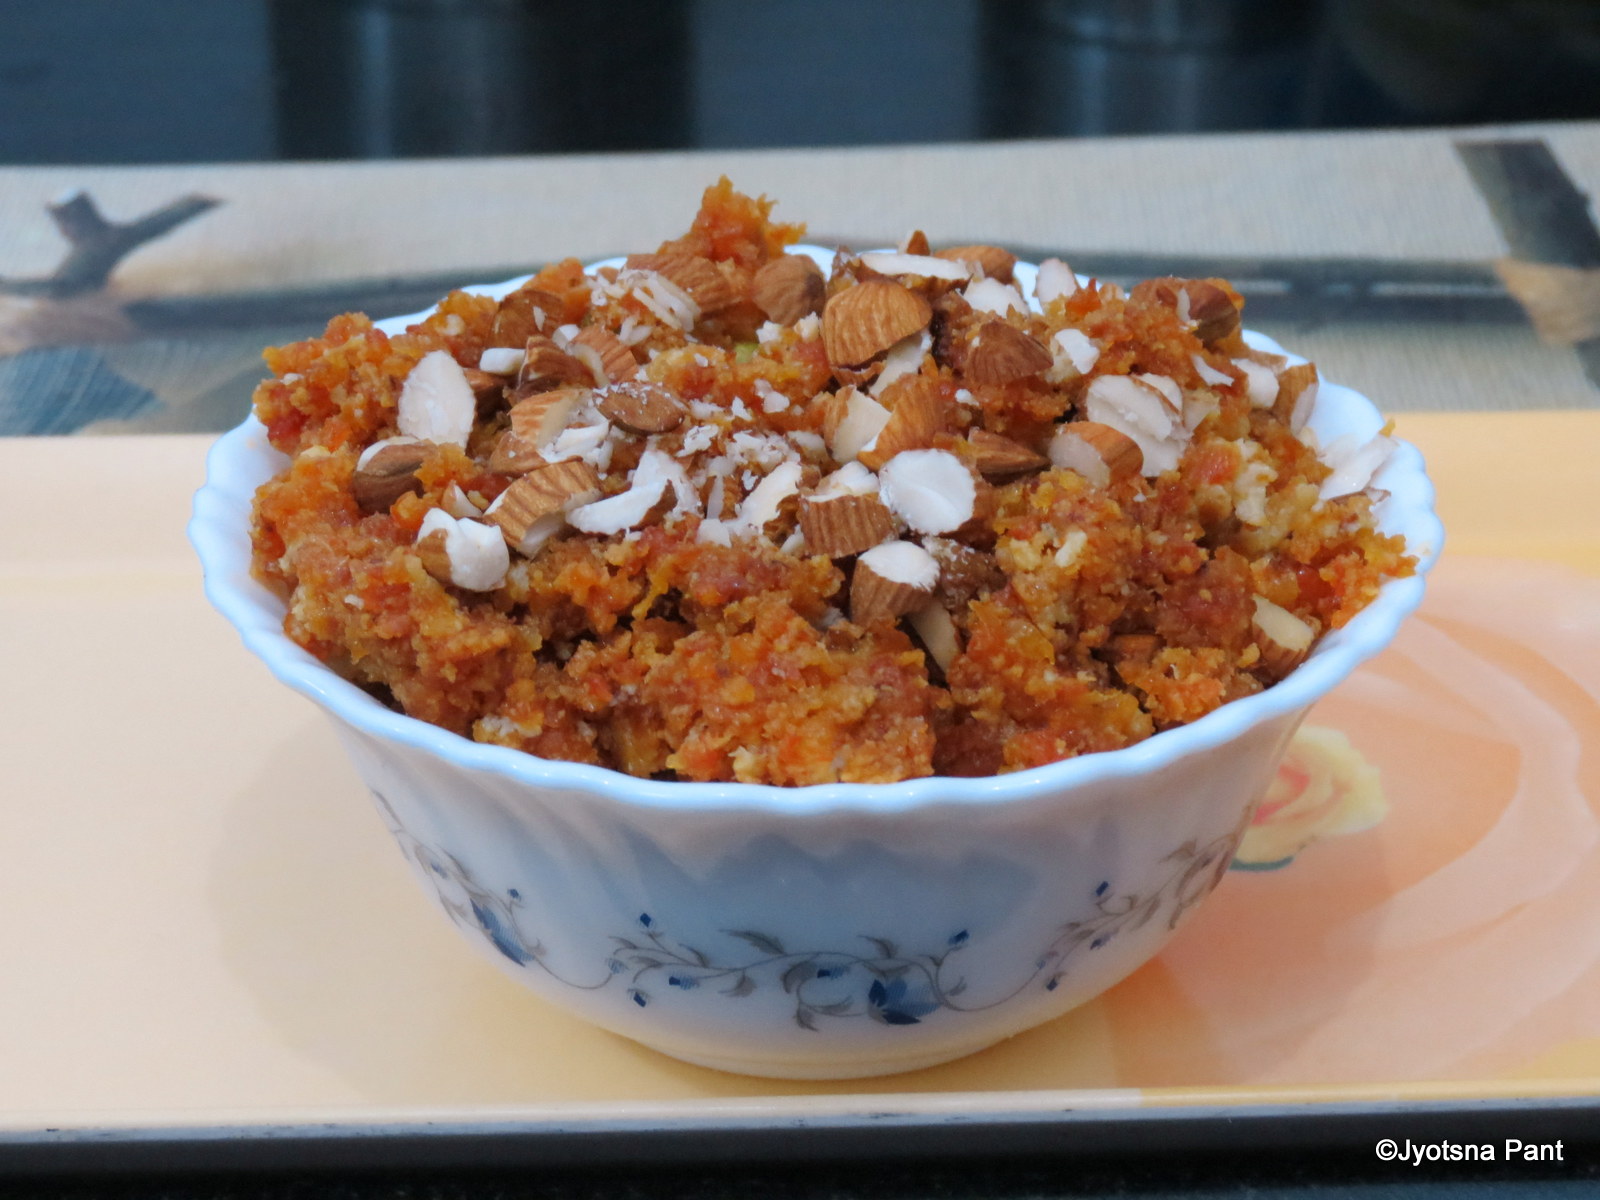
Showing posts with label Jaggery. Show all posts

Friday, 31 July 2015

Banana Halwa (Indian Dessert)


Banana Halwa
In southern part of India different variety of plantins are cultivated. Smaller ones can be as small as 2-3 inches and largest one can be as big as 12 inches also. The color also varies from golden yellow to purple. It was amazing to see so many varieties of banana. The most common one is golsed yellow ripe banana of whoch medium size will vary between 5-6 inches.
Kerela is famous for the variety of bananas savories and desserts. Banana chips and Banana halwa are my favorite. My daughter-in-law who abhors eating ripe banana, loves it only in two forms “banana Cake and Banana Halwa”. Thus I end up getting delicious banana halwa made by her. In fact I learned how to make this great Kerela (Indian) dessert from her. Traditionally it is made in coconut oil but being a North Indian and raised on Mustard oil and Ghee taste I prefer making this halwa in Ghee. Even my daughter-in-law makes it in Ghee, thus the overpowering flavor of coconut oil is eliminated and the dark brown pieces of this dessert is finished before we say let us keep it in fridge for tomorrow.
Vegan banana halwa can be made by replacing Milk by Soy milk and Ghee by coconut oil/Olive oil.

Preparation Time: 20 minutes
Cooking Time: 45 minutes
Servings: 1.5 Kg Halwa (Approximately)

Nutritional Value (Approx.) of 1.5 kgHalwa 
Energy: 1500 Cal
Total fat: 16.3gm.
Carbs: 290gm.
Cholesterol: 0
Sodium: 11 mg.
Calcium: 100 mg.
Magnesium: 200mg
Phosphorous: 75mg.
Iron 15mg.
Dietary fibers: 35 gm.
Sugar: 150 gm.
Protein: 13 gm.
Potassium: 5 gm.
Apart from this it has vitamin A, Vitamin C and B but cooking does destroy some of the vitamin contents.
The calorific value and fat content can be reduced by using Olive oil instead of ghee.
Ingredients Required For Making Banana-Halwa:
  • 12 Medium Size Ripe bananas (2 kg approximately) Even over ripe will do.
  • 100 gm. Organic jaggery (cane/palm)/To taste
  • 50 gm. Ghee (clarified butter)
  • 10 Green Cardamoms
  • 100 ml. Milk (Full fat/skimmed)
  • 20-25 Cashews
  • 20-25 Almonds
Direction For Making Banana Halwa:
  • Cut 10 almonds 10 cashews finely and keep aside for later use.
  • Soak 10-15 almonds and peel them once soaked nicely. Slit them to two equal halves. Keep aside for later use.
  • Slit the rest of the cashews to half. Keep aside for later use.
  • Peel and mash bananas to soft, uniform, gooey mass. The banana mash will weigh roughly 1.250Kg.
    Mashed Banans
  • In a big bowl take jaggery, Add 100 ml milk and whisk the mixture to dissolve the jaggery and get a thick liquid of jaggery and milk.
Jagger and Milk Mixture
  • Peel the cardamoms and crush the seeds to coarse powder.
  • In a thick bottom wok (I take anodized/non-stick) take 50 gm. Ghee and add the powder of green cardamom. Heat it on medium flame. Cardamom will heat along with the ghee thus most of the flavor of cardamom will come in ghee.
  • Add paste of ripe bananas. Cook on medium flame with constant stirring and scraping from the bottom and sides. After 20-25 minutes the paste will become semi-solid and will leave the bottom and edges of wok.
Banana Mash in Ghee and Cardamom
Just before Jaggery is to be added
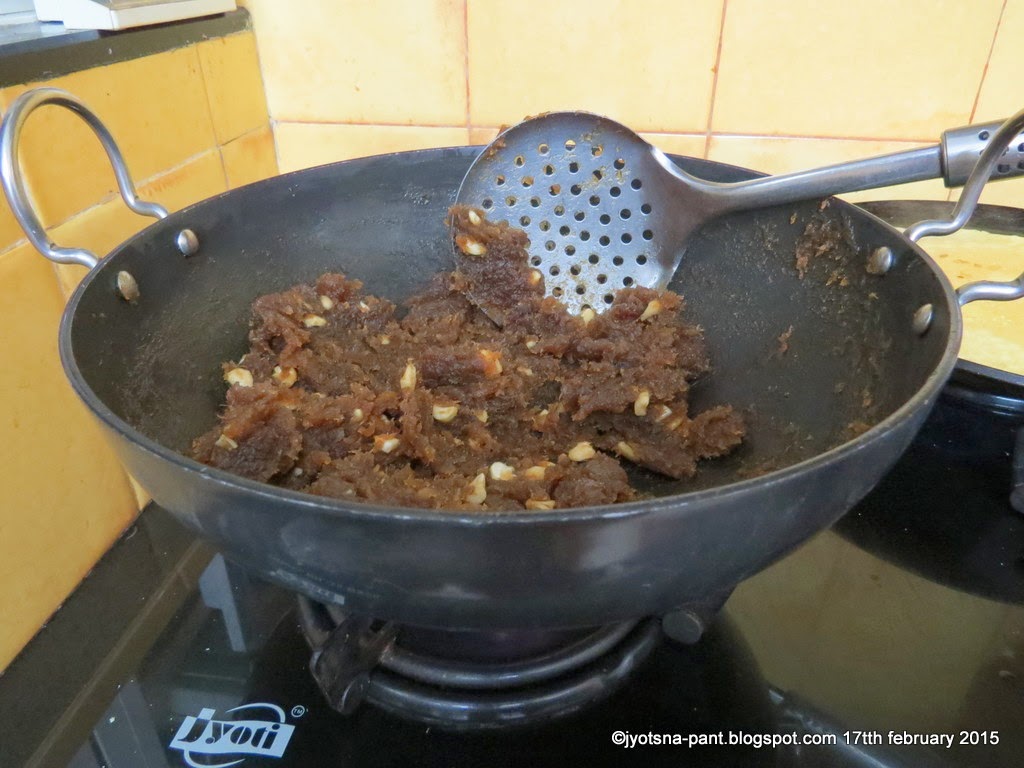
  • Add jaggery mixture and mix nicely. Cook on medium flame, with constant stirring, till the mixture becomes dark and leaves the edges of wok. It will take approximately 10-15 min.
Jaggery added to cooked Banana Paste
Just before nuts to be added
  • Add finely cut cashew and almonds to the banana and jaggery mixture and mix.
Nuts added to Halwa
  • Mix nicel and cook for five minutes to bring it to corret consisitency.
Banana halwa ready for shaping.
  • Cool till they come to room temperature before storing them in airtight container.
Banana Halwa
  • This halwa can be stored up to one month also in fridge. In my house it finishes before I say let us store itJ.
Tips:
  • Halwa before cooling and making balls can be put on a plate and flattened on the plate with spatula. Cover with a cling film and allow it to cool. Then this flattened, cooled halwa can be cut to required shape and size after cooling.
  • Always taste bananas for sweetness and adjust the amount of jaggery accordingly.
  • Taste the halwa before it comes to final stage and if required add jaggery at this stage and cook. Once the halwa is ready more jaggery/sugar cannot be added.
  • If you have over ripe bananas then the best way to use them is to make halwa.
  • Over ripe bananas will require 70-75 gm of jaggery only.
Suggested Variations:
  • Olive oil is a good replacement to coconut oil or ghee. The halwa becomes more nutritive and less fatty.
  • 1/2Teaspoon of cinnamon powder can be added to oil along with the cardamom powder, it lifts the banana halwa to just another level.
  • Jaggery can be replaced with organic brown sugar, but I always prefer palm sugar as it is very nutritive and  imparts lovely color and flavor to the halwa.
  • Vegan Banana halwa can be made using water/soy milk instead of milk and ghee can be replaced by Olive oil.

Thursday, 13 February 2014

Rasam/ रसम (A sweet and Sour soup)


Rasam
Rasam is a sweet and sour soup made all over southern part of India as main course. It is taken with rice/Vada/Idli. I love taking it as soup. Rasam is light to digest and has wonderful flavor of garlic, Curry leaves and spices. Garlic Curry leaves not only add flavor but have tremendous medicinal values and all spices (cardamoms, black pepper, Cumin, Coriander, Fenugreek seeds.. ) have essential oils good for digestion and cough and cold. Tamarind and jaggery when boiled in it adds to the medicinal value. Tamarind when taken raw is bad for throat and also causes acidity but when boiled it acts as medicine for cough and cold. Jaggery apart adding sweet taste also is good when boiled. I can vouch for the effectiveness of this Rasam’s effectiveness in cough/cold/sinusitis because my daughter-in law made it for me when I was at my wits end for getting rid of sinusitis. One glasses of piping hot rasam and I started feeling better and in three days was cured of my trauma. What else one wants if one gets tasty remedies instead of drops and syrups. It acts as a very good appetizer also. Rasam an Indian sweet and sour soup is very easy to make and can be made and stored in fridge for 1-2 days.
Preparation Time: 20 min. (Including making Rasam Masala and Tamarind Pulp)
Cooking Time: 15-20 min
Servings: 800 ml. Rasam

Ingredients Required:
For making Rasam (Sweet and Sour Soup):
  • 50 gm. Tamarind (ripe seedless)
  • 50 gm. Jaggery 
  • 1 Teaspoon Cumin Seeds (Jeera)
  • 1 Teaspoon Mustard Seeds (Rai/sarson)
  • 10 curry Leaves (Kadi Patta/sweet neem)
  • 10-12 Cloves of Garlic
  • 3-4 Whole Red chilies
  • 1 Medium size finely cut tomato (Optional)
  • 2 Table Spoons Rasam Powder
  • 1 Lt. Water
  • Salt to taste
  • 2 ml. Cooking Oil
For Making Rasam Powder:
  • 50 gm. Tur Dal (Split pigeon peas/yellow lentil )
  • 8-10 Cloves (Lawang)
  • 10-12 Black pepper seeds (Kali mirch dana)
  • 1 Teaspoon Fenugreek seeds (Methi)
  • 8 Teaspoon Coriander seeds (Sabut Dhaniya)
  • 5 Teaspoon Cumin seeds (Jeera)
  • 1 Inch Cinnamon stick
  • 4-5 Black Cardamom
  • 2-3 Whole red chilies

Directions For Making Rasam:
Making Rasam Powder:
  • Roast Tur dal on low flame till golden brown
  • Roast Dhaniya, Jeera and Methi individually (Not together) till golden brown on low flame.
  • Roast lawang till it changes color to whitish grey on the surface.
  • Pound the black cardamom to split the cover then roast them for one min. along with kali mirch (Black pepper).
  • Roast Whole deseeded chili to brown color.
  • Let the roasted ingredients cool and then grind all of them together to fine powder and store it in an airtight container use as and when required.
Making Rasam:
  • Soak tamarind in 100 ml. water for 10 minutes then boil for ten minutes.
  • Cool boiled tamarind. Mash and sieve to take out tamarind pulp.
  • Add water to the remaining tamarind and mash and sieve; add this tamarind water to tamarind pulp. Tamarind extract is ready.
  • Cut garlic very fine.
  • Take oil in a thick bottom wok and heat till smoking hot.
  • Add
    • Mustard seeds
    • Cumin seeds
    • Curry leaves
    • Whole Red chilies
    • Finely cut garlic.
  • Cook till garlic is golden brown in color.
Sautted Spices Ready for Adding Tomatoes
  • Add finely cut tomato.
Tomatoes Being Cooked With Sauteed Spices
  • Cook on low flame till tomato pieces become soft and mushy.
  • Add 3 Spoon of Rasam powder and mix (See tips). Cook for one minute with continuous stirring.
Rasam Masala Added to Cooked Tomato spices mixture
  • Add
    • Tamarind extract
    • Jaggery
    • Salt
Tamarind Extract and Jaggery added to cokked Tomato and spices mixture
  • Boil for 2-3 minutes.
  • Add remaining 900 ml. water
  • Boil for 10 min with occasional stirring
  • Yummy Rasam is ready.
Rasam Ready after boiling for 10 minutes
  • Enjoy Rasam as soup/with rice/idli/vada.
Rasam
  • Rasam is a wonderful home remedy. Take one teacup full this rasam every 4 hours during  cough/cold/indigestion it is extremely helpful.
Tips:
  • Do not roast dal, coriander jeera all together as each take different time.
  • Always roast at low temperature for best results.
  • Add rasam powder one spoon at a time and taste you may like to increase /decrease the amount according to your taste.
  • Amount of jaggery can be increased/decreased according to the taste.
  • Those who do not take garlic can avoid it but the taste and medicinal value will not be exactly same.
  • More the curry leaves and garlic better the taste and medicinal values.
Suggested Variations:
  • If Rasam is to be had with rice/vada/idli then reduce the amount of water to 700ml. to make slightly thicker rasam.
  • Rasam can be garnished with finely cut fresh cilantro (Dhaniya patta) or tempered with curry leaves and red chili pieces sautéed in oil.
  • When taken with rice/idli/vada grated fresh coconut can be used to garnish to give it a coconutty twist.
  • 20-25 curry leaves can be roasted and ground to powder along with other roasted ingredients.

Sunday, 16 December 2012

Gajar Ka Halwa /गाजर का हलवा (Carrot dessert)

Gajar Halwa

Carrots are much sought after vegetable in winters when they come in dark red color and are extremely juicy. Apart from being used in salad and soups they are used to make cakes and desserts. In winters piping hot Gajar ka halwa is the most favorite of all Gajar preparations. Whenever carrots used to be in my vegetable basket my son and daughter would start salivating at the thought of treat of Gajar ka halwa so I had no options but to make it time and again till the red juicy carrots lasted in the market.

Nutritional Value/100 gm (approx. Value) :
Saturated Fat 0.037g, 
Polyunsaturated Fat 0.117g, 
Monounsaturated Fat 0.014g, 
Sodium 69mg, 
Potassium 320mg, 
Total Carbohydrate 9.58g, 
Dietary Fiber 2.8g, 
Sugars 4.54g, 
Protein 0.93g, 
Vitamin C10%, 
Calcium 3%, 
Iron 2%. 
Thus with nuts sugar / jaggery added to it along with the milk it makes wonderful, nutritious, healthy very filling dessert.
Preparation Time: 20 min.
Cooking Time: 90 min
Servings: 6 medium helpings

Ingredients Required For Making Gajar Ka Halwa:
  • 1 kg. Carrots (Gajar)
Carrots
  • 1.5 Lt. Full Cream Milk
  • 150 gm. Sugar
  • 10-15 Almonds
  • 10-15 Cashew nuts
  • 15-20 Raisins
  • 1 Teaspoon Ghee (Clarified butter)
  • 100 gm. Khawa (Optional)
  • 2-3 Green Cardamom
Directions for Making Gajar Halwa:
  • Wash carrots nicely of all dirt attached to it.
  • Grate carrots.
Grated Gajar
  • Pound the green cardamom.
  • Cut the nuts  finely.
  • Take ghee in a thick bottom wok and heat on high flame till it is smoking hot.
  • Lower the flame and add pounded green cardamom and cook for 30 seconds.
In one Teaspoon of Ghee 2 pounded Green Cardamom
  • Add grated carrots to the oil and cardamom mixture.
Grated Gajar added to Ghee cardamom mixture
  • Bring the flame to high and mix the carrots and oil nicely cook for 2-3 min. on high flame with constant mixing.
  • Lower the flame and cook till all the juices of carrots are dried up. It will take 20-30 min.
After 20 min. of cooking on low flame
  • Add milk to the Pan fried carrots and mix nicely.
  • Bring the flame to high till the milk starts boiling.
Milk added and brought boil
  •  Once the milk boils bring the flame to low and cook with occasional stirring till the mixture dries up and the carrots get cooked.
Stage when Sugar should be added
  •  Add sugar and mix nicely. The mixture will become slightly wet again as sugar will lose its water so cook  on low flame with constant stirring till all liquid dries and the halwa becomes semi-dry.
Sugar added
Sugar mixed and cooked for 10 min. on low flame
Stage when Khawa should be added
  • Take a thick bottom wok and heat it on gas.
  • Lower the flame and add Khawa to hot wok and cook it for 2 min. 
Khawa being cooked for 2 min. on low flame
  • Before the Khawa starts becoming brown add the halwa in it and mix properly.
Carrots cooked with milk and sugar added to khawa
  • Cook for 2-3 minutes with constant stirring.
Khawa mixed
  • Add finely cut almonds, cashew nuts, raisins and mix.
Nuts added to Gajar Halwa
  • Gajar ka halwa is ready to be served.
  • Take some halwa in a bowl put some nuts on the top of it and serve.
Gajar Halwa
Tips:
  • Regular stirring is a must to ensure that the halwa does not get settled at the bottom and get burnt.
  • Cooking must be done on low flame to ensure proper cooking of carrots and halwa not getting burnt.
  • Wok or container in which halwa is being made should be thick bottom.
Suggested Variations:
  • The amount of milk can be increased to 2-3 lt. from 1.5 lt.
  • If you do not wish to add Khawa then milk: carrot should be 2.5: 1Kg.
  • For making the halwa more healthy and nutritious sugar can be replaced with jaggery. Halwa with jaggery is especially good for ladies post-delivery.
  • Before adding Khawa cooked halwa can be pan fried with 4-5 teaspoon of ghee.
  • Green cardamom powder can be added before adding the nuts.
  • Pistachios, Walnut can be added along with other nuts.
  • To make halwa quickly carrots can be cooked in 1/2lt. milk and then 500 gm. milk made can be added to it and cooked to semi-dry state. Amount of sugar should be reduced I to 75 gm. if milk made is added.

Wednesday, 27 June 2012

Hariyali Chutney/कच्चे आम की चटनी ( Raw Mango Chutney)


Hariyali chutney


Apart from pickles raw mango can be made to tongue tickling chutney or sweet murrabba. Murrabba can be stored for long time like pickle but chutney can be stored in fridge for 10-15 days and in freezer for 3-4 months.
Different version of mango chutney is made in Northern India. But I have my version of mango chutney and my friends and family just love it. If it is season of raw mango then this chutney and chana dal vada would be my sons most loved snack. It is not simply an accompaniment to an appetizer or snack, but as a side dish to every meal.  This chutney is extremely good for making vegetable sandwiches,
Because this chutney has mint, cumin, coriander thus it not only enhances the taste but also aides in digestion. Garlic in this chutney gives relief in flatulence (gas trouble).

Preparation Time: 10 min.
Making Time: 5min.
Servings: Makes 20-25 small helpings

Ingredients required for Mango Chutney:
  • 1 Medium Raw Mango
Raw Mangoes
  • One small onion
  • 5-6 Cloves of Garlic
  • 1-2 Green chilies
Green Chilies
  • 1/2 Tea spoon Cumin seeds
  • 5-6 Sprigs of fresh green coriander leaves
Fresh Green Coriander sprigs
  • 30-40 Fresh leaves of Mint
Mint leaves
  • 10-15 gm. Jaggery
Jagerry
  • Salt to taste

Direction for Making Raw Mango chutney

  • Wash the mango and peel it.
  • Cut the peeled mango to small pieces.
Peeled and cut Raw Mango
  • Wash drain and cut coriander sprigs.
  • Wash mint leaves.
  • Wash and cut green chilies.
  • Peel onion and cut to pieces.
  • Peel garlic. 
  • Take in a bowl
    • Mango pieces
    • Onion pieces
    • Garlic
Raw mango pieces, onion pieces, Garlic and green chili pieces for Hariyali chutney
    • Chopped Coriander sprigs.
Mango, Onion,Garlic, Coriander leaves and green chili for Hariyali chutney
    • Mint leaves
    • Cut green chilies
    • Salt
    • Cumin seeds
  • Put in a grinder -mixer and grind to fine paste.
  • Add jaggery and again grind to make a homogenous paste.
Hariyali Chutney
  • Take out in a container with a lid and store it in the fridge and use as and when required.
Tips:
  • Add water in little amounts while grinding.
  • The amount of cumin seeds, onion, and garlic can be increased or decreased as per the taste or to change the flavor.
  •  This chutney can be taken while a person is having upset stomach as it has digestion aiding ingredients.
  • Make ice cubes of the chutney in an ice tray and store in the freezer. When required take a cube of chutney let it melt at room temperature and use it.
Suggested Variations:
  • Since, I like this proportion of ingredients in the chutney so much, that I really would not suggest variations.
  • Yet if one wishes to do away with onion and garlic, then it is suggested that some kala jeera should replace them to maintain the digestive property and sharp tangy taste.

Monday, 4 June 2012

Panha (पन्हा) ( Summer drink from Raw mango and sugar)


Freshly made Panha from Raw Mangoes
Panha
Come summers raw mangoes are in huge demand, not only for chutney and pickles but also for a magic drink called Panha. I call Panha a magic drink because it not only cools the system in summers but is also very good for those who have had a sun stroke or loose motions in summers. As it is made at home from fresh mangoes and mint it come out to be more tasty and economical than the canned one purchased from market. I personally find it tastier and better than the ready made drinks and aerated drinks. Try it this summers and you will want to make it every summers when you will see raw mangoes in the market.

 Preparation Time: 15-20min.
Cooking Time: 30min.
Servings: 8-10 Glasses of Panha

Ingredients Required for Making Panha:
  • 250 gm. Raw Mangoes (4 Medium size)
Raw Mangoes
  • 250gm. Sugar
  • 1/2Tea spoon Black salt
  • 500ml. Water
  • 20-30 Leaves of Mint
Fresh Mint leaves
Direction for Making Panha:
  • Wash the mangoes very nicely.
  • Peel the mangoes and cut them to pieces. 
Pieces of raw mangoes
  • Take the mango pieces in a thick bottom pan and cover them with water.
  • Keep the pan on gas on high flame and when the water starts boiling bring the gas to low flame.
  • Cover the pan and boil the contents on low flame with stirring till the mango becomes soft.
  • Remove from gas and keep aside for cooling.
Boiled raw mango pieces and fresh mint leaves
  • Take 250 ml. of water in a thick bottom pan and add sugar to it.
  • Keep the pan with sugar and water on gas on low flame.
  • Boil the sugar and water mixture for 10min. with continuous stirring.
  • While the sugar syrup is being made, take the cooked mangoes and fresh mint leaves in a mixer and make a fine paste of it.
  • Sieve the cooked mango and mint leaves paste through a sieve.
Boiled raw mango and mint leaves pulp
  • Add sugar syrup in small amounts to the cooked mango paste with continuous mixing.
  • Mix and give a boil to the mixture.
Mango pulp and sugar syrup being given a boil
  • Cool and add black salt.
  • Panha is ready.
  • Store in a bottle preferably glass bottle.
Panha
Direction for Serving Panha:
  • Fill 75ml.ml. Panha in a glass, add 75 ml. water and stir it to mix nicely.
  • Put 2-3 ice cubes.
  • Top it with some fresh mint leaves and serve the cooling panha.
Panha a cold drink for summers
Tips:
  • Make sure mangoes are cleaned properly.
  • While cooking mangoes make sure that they don’t stick to the bottom of pan else they will get burnt leaving unpleasant taste and odor.
  • While making sugar syrup stir till all sugar dissolves else the sugar will get burnt leaving caramelized taste and color to the sugar syrup which will change the color and taste of panha.
  • Panha can be stored in fridge for at least one month and in freezer for 2-3 months.
Suggested Variations:
  • Jaggery can be taken instead of sugar.
  • Panha with jaggery has a different taste but high iron content.
  • While serving to change the flavor roasted cumin powder/ pepper powder can be used instead fresh mint leaves.
Panha a Cooling Summer drink served with a dash of Cumin powder

LinkWithin

Related Posts Plugin for WordPress, Blogger...