Showing posts with label #Indian. Show all posts

Tuesday, 28 July 2020

Mixed Daal (मिली जुली दाल) Indian Savory Of Mixed Pulses

Mixed Daal 
Vegetarians and vegans depend on Pulses (daals), Paneer /Tofu and legumes for proteins. Different types of pulses have different type of proteins. Thus to have most of the required proteins including mixed daal (savory made from mixture of different pulses) is very important. In one of my post I have blogged recipe for making mixed sabut daal (savory from mixed legumes) https://jyotsna-pant.blogspot.com/2020/06/mixed-sabut-daal-indian-savory-of-mixed.html. This post is about savory from mixed pulses. Different type of daals not only bring different types of proteins but also different vitamins and micro nutrients thus bringing great nutritional value to the savory.

Preparation Time: 10 minutes 
Cooking Time: 15 minutes 
Serving: 6 large servings
Nutritional Value of daal cooked From Given Proportion: (Approximate Values)

Energy: 340 cal.
Protein: 25 gm.
Carbs: 12gm.
Dietary Fibers: 15 gm.
Sodium: 15mg.
Potassiun: 100mg
Fats: 4gm.
Extremly rich in micro nutrients like
Calcium, Iron, Zinc, Phosphorous, MagnesiumVitamin A, Vitamin B2, B3, B6, B9 and vitamin C.

Ingredients Required For Making मिली जुली दाल (Mixed Daal) :
  • 20 gm: Chana daal
  • 20 gm: Moong Daal (split green gram)
  • 20 gm: Sabut Massor (whole Lentil)
  • 20 gm: Dhuli Urd daal (split dechaffed black gram)
  • 20 gm: Arhar/Tur daal (split Pigeon Peas)
  • 20 gm : Masoor daal(red lentil) 
  • 1 Teaspoon : Grated /paste Ginger 
  • 1 Teaspoon : Cumin seeds 
  • 1/2 Teaspoon : Ajwain 
  • 2 : Cloves
  • 1/2 Teaspoon:Red Chili Powder (optional) 
  • 1/2 Teaspoon : Kashmiri Chili Powder 
  • 2 Teaspoons : Salt or to taste 
  • 2 Teaspoon Ghee (clarified butter) 
Directions for Making Mixed Daal (मिली जुली दाल :
  • Mix sabut  masoor (Black lentil) and chana daal. 
  • Wash and soak chana daal and black lentil/ masoor sabut for 30 minutes. 
  • Mix all rest of the daals and wash them nicely till clear water comes from washing.
  • In a pressure cooler put all daals (soaked chana daal and masoor sabut and rest of the mixture ofqwashed daals.
  • Add 
    • 500ml.water
    • Turmeric
    • Salt 
    • Put the lid in cooker and keep on high heat till pressure starts building in cooker. 
    • Lower the heat and allow the daal to cook in cooker for 10 minutes. 
    • Switch off the gas and allow the cooler to cool. 
Boiled Mixed daal

  • In a wok/thick bottom pan take Ghee and heat. 
  • Once ghee is hot but not smoking hot, add:
    • Ajwain 
    • Cumin 
    • Lawang (Cloves) 
  • Let the seeds splutter. 
  • Once the seed splutter add: 
    • Ginger 
    • Whole red chili 
    • Red chili powder 
    • Kashmiri chili powder 
  • Stir and cook for 10 to 15 seconds. 
  • Add cooked daal from cooker and mix nicely. 
Boiled Mixed Daal Added To The Tempering
  • Bring the heat to medium and cook the tempered dall for 5 minutes with stirring in between.
  • Adjust salt. Add water according to the consistency of the daal you want. 
  • Cook for 2 to 3 minutes. 
  • Cover and allow to cool. This will allow the flavor of spices to seep nicely in daal. 
 Mixed Daal 
Mixed Daal Ready To Be Served
  • Heat before serving. Season with Chopped fresh green coriander. 
Mixed Daal 
Tips :
  • Soak only chana daal and sabut masoor because if not soaked they take more time to cook as compared to other daals. 
  • Make mixture of uncooked daal and storetthem. Use as much is required. 
  • Chana daal and sabut masoor can be omitted from mixture. 
  • If falling short of time, then chana daal and sabut masoor can be soaked in hot water for 10 minutes.
  • Stirring the daal while cooking with tempering is necessary to avoid daal sticking to the bottom andalso for ensuring even cooking.
  • Always check chilies and chili powders for their hotness before adding. Adjust the amount according to hotness of chilies and spiciness you require. 
Suggested variations :
  • If allergic to chana please omit it. Soak only sabut masoor. 
  • Dhuli urd daal can be replaced with kali urd daal (split black gram). 
  • In tempering after the seeds have sputtered finely chopped onion two to three table spoons, garlic one teaspoon can be added followed with ginger and chilies. 
  • Tomato paste or finely chopped tomato 4 tablespoons can be added to the tempering. 

Saturday, 18 April 2020

Ripe Green Tomato Savory (Hare Tamatar Ki Sabzi)


Ripe Green Tomato Sabzi
I used to see green tomatoes in vegetable shop and used to wonder ‘Why do they pluck tomatoes before they ripen up’. I did not show any interest in those firm, shiny green tomatoes, reason was simple "when I have choice of luscious, red tomatoes then why should I purchase green ones". This was till I did not know the true value of Ripe Green Tomatoes.
These tomatoes are low in calories, rich in potassium, protein, and vitamin A and C. They are also rich source of Iron and Calcium. This variety of tomatoes remains green even after ripening. Thus they are named "Ripe Green Tomatoes".
Years later (Feb 2020) my daughter Namita's friend Deepti Malvadkar brought fresh vegetables and Sapotas from her farm. What do I see? Yes you guessed correctly Ripe green tomatoes! having glowing skin urging me to cook them while they are fresh and nice.
I proceeded to cook them. Hope you all also like the recipe and enjoy the Green Tomato Sabzi.
Preparation Time: 5 minutes
Cooking Time: 10 minutes
Servings: 4 small servings

Nutritional Value Of Sabzi made from 500 gm. Of Ripe Green Tomato (Approx.)
Energy: 135  Cal
Cholesterol:  0
Sodium: 75 mg
Potassium: 1040 mg
Carb: 25.5 gm
Fibers: 5.65gm
Sugars: 24.85gm
Protein: 5.05 gm
Extremely rich in
Vitamin A, C
Calcium and iron
Ingredients Required For Making Ripe Green Tomatoes Sabzi:
  • 500 gm. Ripe Green Tomatoes
Ripe Green Tomatoes
  • 1 Teaspoon Cumin Seeds
  • 1 Teaspoon Fennel seeds
  • 1/2Teaspoon Nigella Seeds
  • 1-2 Green chilies
  • 25 gm Jaggery
  • 1/2Teaspoon Turmeric Powder
  • 1 Teaspoon Coriander Powder
  • 1 Teaspoon Cooking Oil
  • Salt to taste
Direction For Making Ripe Green Tomatoes Sabzi:
  • Wash the tomatoes and cut them to long wedges of half centimeter thickness.
Tomato Wedges
  • Cut onion to long thin slices.
  • Heat oil in a thick bottom wok/pan, when the oil is hot lower the heat and add
    • Nigella seeds
    • Cumin seeds
    • Fennel seeds
  • Once the seeds have spluttered add 
    • Finely chopped Green chilies
    • Finely chopped ginger
    • Finely chopped garlic
    • Onion slices
  • Cook for 2 minutes on medium heat.
Ready for adding tomato wedges
  • Add tomato wedges and cook for  a minute or so on medium heat. 
Tomato wedges added 
  • Add
    • Turmeric powder
    • Coriander powder
    • Chili powder
    • Salt
Spices added to Tomato wedges
  • Mix nicely and cover the wok/pan.
  • Cook for 5 minutes with stirring in between, making sure tomatoes do not stick to the bottom.
  • The juice of tomatoes is enough to cook them so no extra water is required to be added.
  • After 5 minutes tomatoes will be almost cooked. Add jaggery pieces and mix.
  • Do not cover. Cook with continuous stirring till all jaggery pieces dissolve and get mixed with cooked tomato pieces.
Ready to be served
  • Remove the cooked sweet and sour sabzi in serving dish.
Ripe Green Tomato Sabzi
  • Serve along with da-chawal/parantha/Khichadi/pulav.
  • This sabzi makes amazing side dish.
Tips:
  • Do not over cook, else the sabzi will become gooey.
  • Always check the hotness of green chilies before adding.
  • Break jaggery to small pieces for fast and complete mixing.
Suggested Variations:
  • Coarsely pounded roasted groundnuts can be added to give a different texture and nutty flavor.
  • Organic jaggery can be used. But it will change the color og the sabzi.
  • In the absence of jaggery sugar can be used.

Friday, 11 August 2017

Beetroot Cutlets / चुकन्दर की टिकिया


Beetroot Cutlets Without Sesame Seeds Coating

Cutlets served with Tomato Ketchup
Beetroot is not only nutritious alongwith being tasty, but it is also a very good root vegetable helpful for controlling weight. It is rich dietary fibers, Vitamins, minerals and low on calories. This red tuber can be made to savory, salads, sliced and put in sandwiches, burgers. I love cutlets of beetroot. They can be had as snacks with tomato ketchup or green chutney; they can be placed between slices of bread with chutney, ketchup or humus to make a delicious, healthy nutritious sandwich.

Preparation Time: 10-15 minutes
Cooking Time: 5 minutes
Servings: makes 6-8 Medium size cutlets

Nutritional Value: (Approx.)
  • Calories: 550
  • Fat: 11gm
  • Carb: 100gm
  • Sugars: 25gm
  • Protein: 10gm
  • Calcium: 100gm
  • Dietary fibers: 19gm
  • Sodium: 1200mg
  • Potassium: 2010mg
  • Cholesterol: 0mg
  • Rich in Vitamin A, Vitamin C, Iron, and calcium
Ingredients Required For Making Beetroot Cutlets:
  • Beetroot: 2 medium size or 250 gm
  • Potatoes: 2 Medium size or 100 gm
  • Ginger: 1inch piece (Optional)
  • Garlic: 4-5 cloves (Optional)
  • Ginger Powder: 1 Teaspoon
  • Green chilies: 1 or according to taste
  • Green coriander leafs: 3-4 sprigs
  • White Sesame seeds: 2-3 table spoon
Ingredients For Cutlets
  • Olive oil/cooking oil: 1 Teaspoon is using nonstick pan else more
  • Salt to taste
Directions for Making Beetroot cutlets:
  • Peel and grate beetroots. Keep aside.
  • Peel potatoes and grate them, Keep aside.
  • Heat a pan (no oil required) and put grated beetroot in it. Cook on medium heat with stirring till most of the moisture evaporated and the grated beetroot become soft. Do not cover while dry cooking. It will be done in 8-10 minutes.
Raw grated Beetroot being cooked to rteduce the juice
Ready to make cutlets mixture
  • Roast sesame seeds on low flame till they gain light brown color.
  • Chop coriander leaves finely.
  • Chop green chilies finely.
  • Grate or chop ginger as per your liking.
  • Take the grated potatoes and beetroot in a bowl and mix 
    • Salt
    • Ginger 
    • Chopped ginger
    • Green chilies
    • Dry ginger powder
    • Garlic (Optional)
    • Corianders leaf and mix well.
  • Mixture of cutlets
  • Make 6-8 balls from the mixture.
  • Flatten the balls between your palms to give the shape.
  • Coat each raw cutlets with roasted sesame seeds. (Optional)
Ready to be cooked (Without Seesame seeds)
Rounds of cutlets coated with White Sesame seeds
    • Take a non-stick pan and heat on high flame.
    • Sprinkle few drops of olive oil on the pan once it is hot.
    • Bring the heat to medium and place the raw cutlets on the hot pan with oil.
    • Cook on medium flame for two minutes and then flip them carefully. Making sure they do not break.
    Cutlets Being Cooked in Spoonfull of Oil
    Cooked on one side
    Cutlets ready for serving
    Cutlets Ready To be Served
    • Cook the other side also for two minutes. By now both side of cutlets should be brownish.
    • The cutlets will be on soft. Do not cover them once they are done.
    • Take then on a plate serve them hot with chutney/ketchup or if you want to store let them cool without covering before storing.
    Beetroot Cutlets (Without sesame seeds) With Raw Mango Chutney
    Cutlets With Coriander-Mint Chutney
    http://jyotsna-pant.blogspot.com/2011/10/green-coriander-and-mint-chutney.html

    MY favorite breakfast is grilled sandwich (Call it a taco) made by palcing these cutlets between two folds of chapati, grilling it and pairing it with homemade humus or coriander-mint chutney.

    Tips:
    • Do not overcook beetroot and potatoes else the cutlets mixture will become too wet and gooey, resulting not so firm cutlets.
    • Dry ginger gives good flavor and absorbs moisture thus is essential to be added.
    • Red chilies powder spoils the flavor so avoid it.
    • All chopped ingredients should be chopped finely , big pieces of chilies, garlic are very unsavory in soft cutlets.
    • Adjust the flame according to your cooking equipment, that is pan and gas stove/hot plate.
    Suggested Variations:
    • I am a big fan of garlic and ginger thus I have added chopped ginger also, if you wish you can avoid chopped ginger.
    • The cutlets after being coated with roasted sesame seeds can be coated in egg white, then with all purpose flour and deep fried.
    • To a cup of all-purpose flour add salt and make batter using soda. The batter should be thick but of flowing consistency. Dip each sesame coated raw cutlets and deep fry them. I prefer my cutlets pan fried with as little oil as possible, this is simply to keep them on healthier side.
    • Butter can replace olive oil. It certainly adds a wonderful flavor to the cutlets.

    Tuesday, 7 April 2015

    Oil Less Green Chili Pickle/हरी मिर्च अदरक का अचार बिना तेल

    Oilless Green Chili Pickle
    This is one pickle which vanishes fast from the bottle as my whole family is very fond of it. I do not mind as it is very easy to, make and is very healthy. Green chilies have lots of vitamin C, Garlic, caraway seeds(Ajwain) are good for digestion and flatulence and again lemon is rich in Vitamin C and micro nutrients. The sour, hot and tangy taste makes it irresistible.

    Preparation Time: 45 min
    Maturing time: 7 days in summers
    Serving: Makes 400gm. (approx.) pickle.

    Ingredients Required For making Oil less Green Chili Pickle:
    • 250 gm. Fresh Green Chilies
    • 10 Lemons
    • 10 Pods of Garlic (optional)
    • 100 gm. Ginger
    • 2-3 Teaspoons Mustard seeds (I use yellow mustard but any other will do)
    • 2-3 Teaspoons Ajwain
    • 2 Teaspoon Turmeric powder
    • 2-3 Teaspoons Vinegar/apple cider
    • Salt to taste
    Directions for making Oil less Green Chili Pickle:
    • Grind mustard seeds to coarse powder.
    • Wash green chilies and remove the stalks. Dry them with a cloth and cut to small pieces.
    • Wash and peel ginger. Dry under the sun to ensure all top moisture has evaporated.
    • Cut the peeled ginger to small size pieces.
    • Wash and dry the lemons. Squeeze the juice of lemons leaving two lemons for later use, and cut the lemon rind to long strips.
    • Cut the remaining lemons to small pieces.
    • Peel garlic and cut to long strips.
    • In a stainless container take
      • Green chili pieces
      • Ginger pieces
      • Garlic pieces
      • Lemon and lemon rind pieces
      • Ajwain
      • Mustard seeds powder
      • Salt
      • Turmeric and mix nicely.
      • Vinegar 
    • Cover the container with the pickle mixture with a muslin cloth and keep under the sun for one day in summers and 2-3 days in winter.
    • Transfer the mixture to a clean dry bottle and cover with the lid tightly.
    Pickle mauring under the Sun
    • Keep the bottle with the pickle mixture under the sun for 4-5 days and by the end of the week the pickle is ready.
    Oilless Green Chili Pickle
    Tips:
    • All ingredients should be dry before pickling.
    • Check for any rotten or stained part in garlic, chilies and ginger. It should be removed else the pickle will go bad.
    Suggested Variations:
    • If you wish to make this pickle in rainy weather then 20 ml. of vinegar should be added to the mixture along with other ingredients. (I use apple cider).
    • 20-30 gm, Jaggery can be added to get the sweet, sour tangy and hot flavors.

    Sunday, 28 April 2013

    Techa / ठेचा /ठेचा (Spicy Pounded Mixture of Garlic,Green Chili and Groundnuts)

    Techa
    Techa basically means pounded to coarseness. In Maharashtra a spicy very hot mixture is prepared from garlic, green chili and groundnut by pounding them together, thus it has got the name Techa. Now a days since pounding equipment like mortar and pestle have become rarity in Indian households thus grinder / mixer is used for making the coarse paste of Techa. Techa is eaten along with Jowar roti and Pithala (Thick broth of black gram flour). Even though it is very spicy and hot yet it is quite healthy as it contains garlic, green chili and groundnut. It can be stored for 7-10 days outside the fridge, but believe me it will be polished off before that time.

    Preparation Time: 15 min
    Cooking Time: 10 min
    Servings: 10 very small helpings

    Ingredients Required For Making Techa:
    • 50 gm. Garlic
    Peeled Garlic
    • 50 gm. Green chili
    Green Chilies
    • 50 gm. Groundnut
    • 0.5 ml. Oil
    • Salt to taste
    Directions For Making Techa:
    • Peel and cut the garlic.
    Garlic peeled and cut to pieces
    • Wash, dry and cut green chilies.
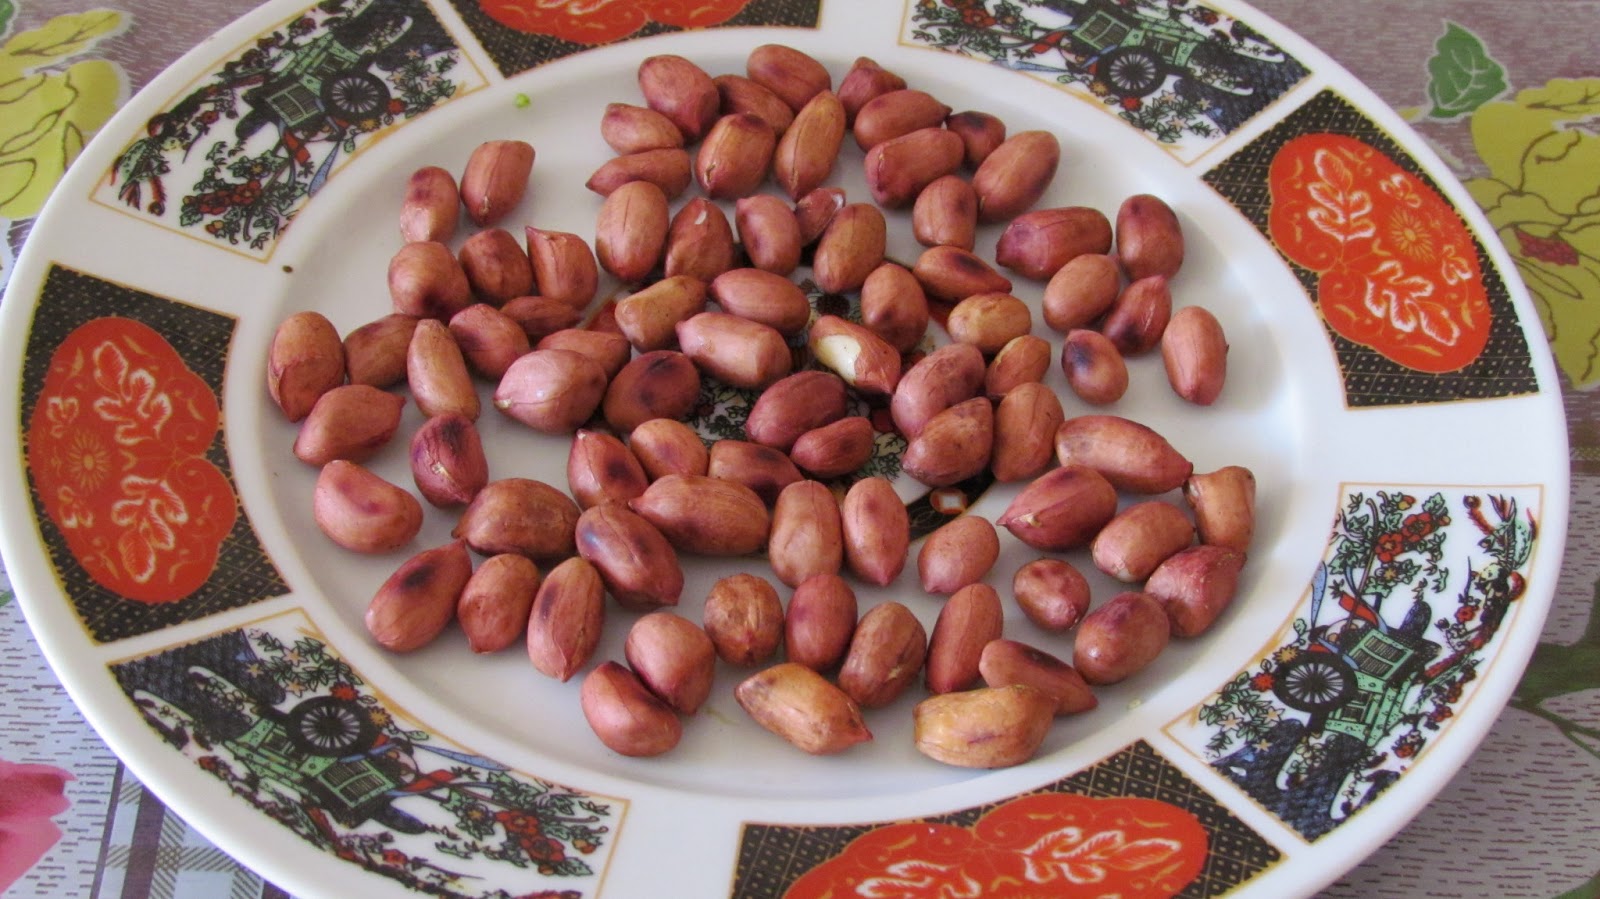
    • Roast the groundnuts.
    Roasted Groundnuts
    • Remove the peel of groundnut.
    Roasted and cleaned Groundnuts
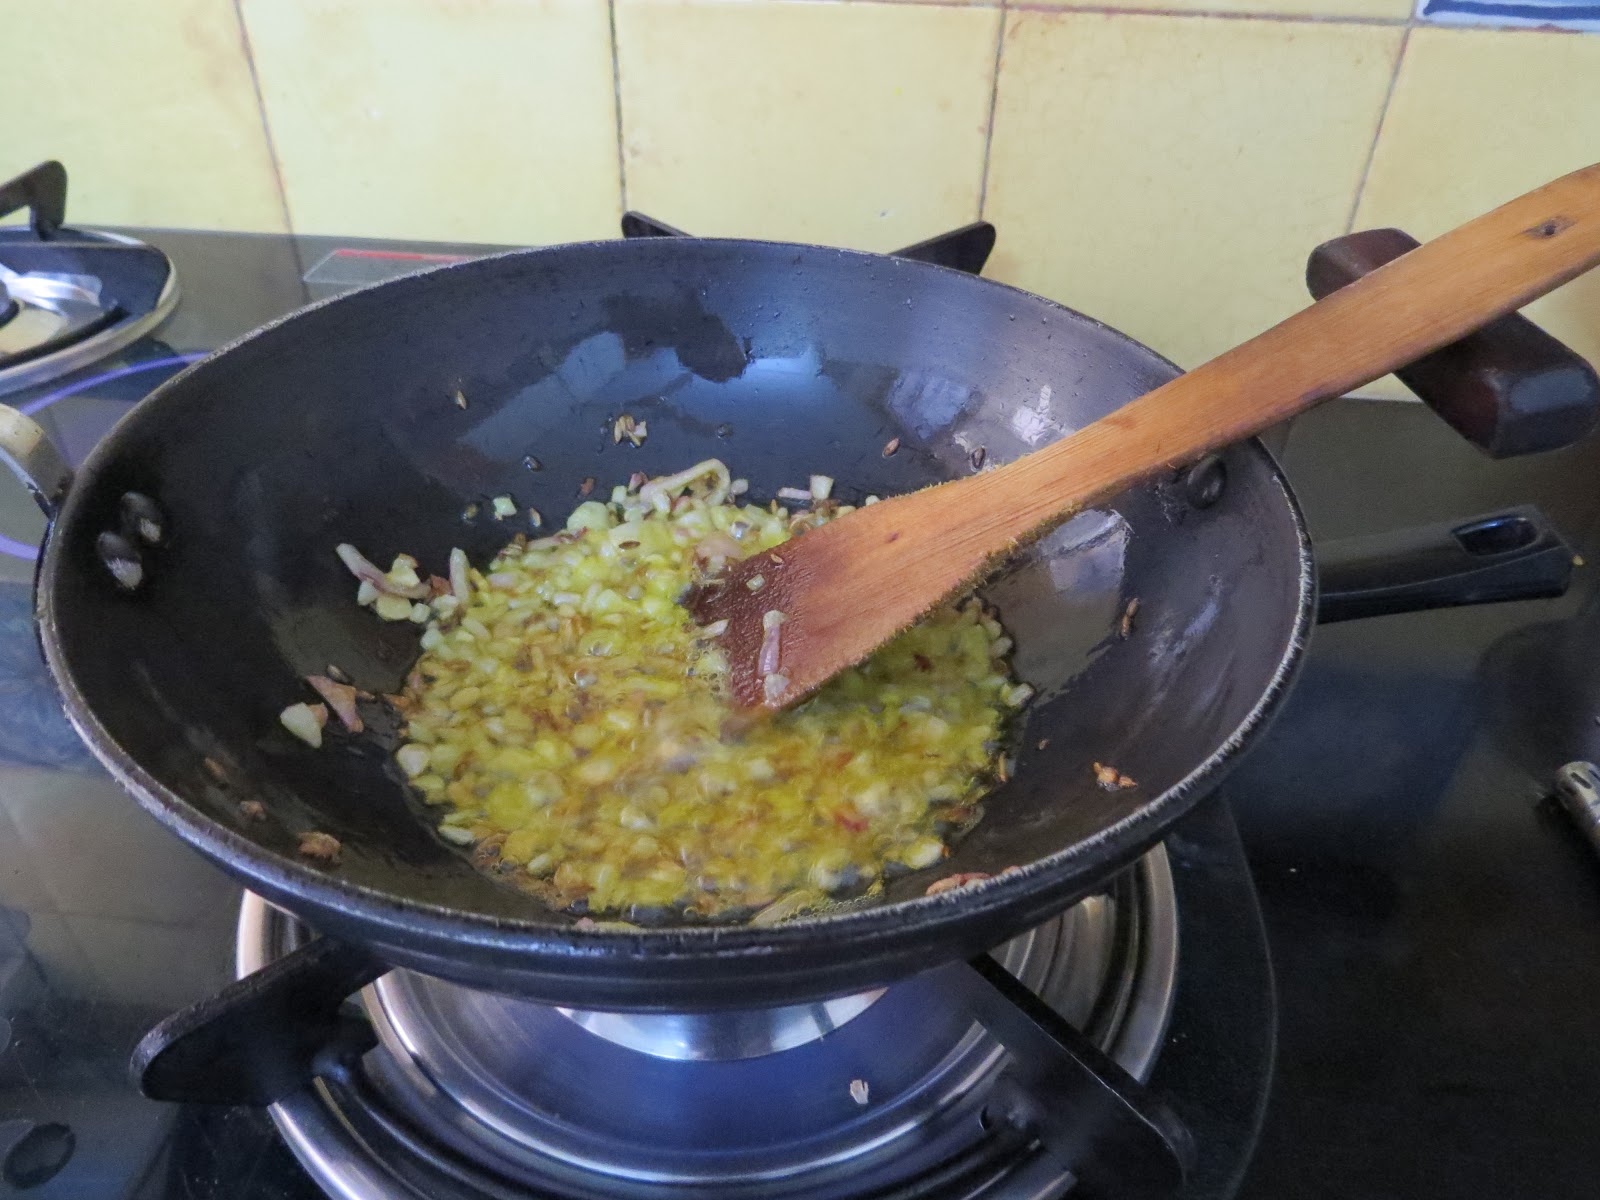
    • Heat 1/2ml. oil in a thick wok and when oil is hot put green chili pieces and garlic pieces in it and cook for 4-5 min. with continuous stirring.
    Garlic and Green Chili pieces being cooked in 0.5 ml. Oil
    • The green chilies will change the color and garlic will start getting brown color.
    • Add a teaspoon of salt and mix.
    • Remove from heat and allow to them cool. 
    Cooked Green chilies and Garlic
    • Take cooked garlic-green chili mixture and roasted groundnuts in a grinder/ mixer and make a coarse paste without adding water.
    Techa
    • If you have grinding stone / pastel then pound the mixture to thick coarse paste. Techa made by pounding on a grinding stone / pastel  tastes authentic, but most of us make it in mixer / grinder now a days.
    Tips:
    • Green chilies and garlic can be cooked without cutting also.
    • Water should not be added at any stage of cooking.
    Suggested Variations:
    • The amount of green chilies can be increased according to your liking as well as the hotness of chilies.
    • Roasted sesame seeds can be added to the Techa after the Techa mixture has been pounded / ground to coarse paste.

    Sunday, 6 January 2013

    Vada - Sambhar(Fried Indian Dumplings in Tangy soup)

    Vada for Vada-Sambhar

    Vada-Sambhar
    Vada-sambhar along with coconut chutney is a yummy combination and can be had any time of the day, at the pretext of being hungry but want to eat something different than roti…In my house hold every Saturday / Sunday Vada-sambhar used to be made for brunch and it used to be delightful sight to see my husband and children enjoying hot vada soaked in tangy-spicy sambhar along with sour and sweetish spicy coconut chutney. I am lucky to be born in a country which has such a diverse culture and food habit. Different state has different type of staple food and I try to make my kitchen a mini India, thus hope to keep on learning, improvising and blogging different recipes so that maximum people can know and learn about the wonderful Indian savory / sweets and breads and much more.

    Preparation Time: 20 min. (Dal soaking time not included)
    Cooking Time: 45 min (for vada), 45 Min (for sambhar)
    Servings: 25 Medium Size Vadas

    Ingredients required and Directions for making Sambhar Vada-Sambhar:
    http://jyotsna-pant.blogspot.com/2012/05/sambhar-tur-dal-cooked-with-vegetables.html

    Ingredients required for Making Vada: for Vada-Sambhar:
    • 250 gm. Urd Dal
    • 1 Large or 2 Medium Onions
    • 2-3 Sprigs of Fresh coriander Leaves
    • 3-4 Green chilies
    • 1 Tea spoon Red chili Powder (optional)
    • 1/2Tea spoon Turmeric Powder
    • Salt to taste
    • Cooking Oil for frying
    Directions for masking Vada for Vada-Sambhar:
    • Wash Urd dal till the water from washing comes out clean.
    • Soak the washed dal in excess water for at least 4 hours.
    • Drain the water from soaked dal and grind it to thick, fine paste.
    • Cut onion fine.
    • Cut green chilies fine.
    • Cut Coriander sprigs fine.
    • Add
      • Dal paste
      • Finely cut Onions
      • Finely cut Coriander sprigs
      • Finely cut green chilies
      • Red chili powder
      • Turmeric powder
      • Salt
    • Mix and beat till it becomes creamy in texture.
    Batter for Vada
    • Take oil in a wok and heat on high flame till smoking hot.
    • Reduce the flame when the oil is smoking hot.
    • Dip your fingers in water before picking the batter for vada.
    Fingers dipped in water before picking the batter for vada
    • Take a small amount of dal mixture and flatten it on your palm to make a 3-4 cm. thick and 3 cm. (roughly) diameter round.
    Pick the batter with wet fingers
    Wet palm before placing the batter
    Batter placed on the palm and made to round shape
    • Wet your fingers of the other hand and with the index finger make a hole in the center of dal round on your other hand palm.
    Hole made at the center of the batter
    • Carefully slip the dal round with hole on the fingers of the other hand and put it carefully in hot oil for frying.
    Vada batter with hole being put in oil for frying
    • Repeat the same and fry at one time 4-5 vadas on low flame by carefully turning then occasionally.
    Vada being fried
    Vada fried to golden brown color
      Vada For Vada-Sambhar
    • When the vadas are fried in both sides to golden color take them out in a serving plate and serve hot with piping hot spicy sambhar and coconut chutney.
    Vada-Sambhar
     http://jyotsna-pant.blogspot.com/2012/05/sambhar-tur-dal-cooked-with-vegetables.html
    http://jyotsna-pant.blogspot.in/2012/08/tangy-delicious-coconut-chutney.html

    Tips:
    • Soak the dal till it becomes soft, if urd dal is soaked for 6-8 hours then the vadas come out fantastic.
    • Add water in little amounts while grinding to make sure the dal paste does not become thin.
    • If the dal mixture will be thin then the vadas will not be made nice. Either they will soak too much oil or they dal mixture will dissolve in oil to small pieces.
    • If the dal paste somehow or other becomes little thin add 2-3 tea spoons of rice powder along with other ingredients.
    • If the oil has become too hot switch off the gas and let it cool for 2-3 min. before making vadas.
    • The Sambhar for vada should be thin so that vadas get soaked properly in it.
    Suggested Variations:
    • For those who are allergic to urd dal or urd dal does not agree with their system they can replace urd dal with Moong dal / 50:50 mix of Moong and urd dal mixture.
    • Finely Kadi patta (curry leaves) can be added to the dal paste while making the dal mixture for vada.
    • 1 Tea spoon ajwain (caraway seeds) can be added to the dal paste along with other ingredients while making the dal mixture for vada. This adds flavor and is good for digestion.

    LinkWithin

    Related Posts Plugin for WordPress, Blogger...