|
| Sprout With Gravy (Indian Savory Of Sprouts) |
Sprouts have their own taste and if seasoned too much
with spicy and made in too much oil it loses its all nutrients as well as
taste. In Maharashtra sprouts are made either dry or with gravy. When the one
with gravy is paired with finely cut onions, tomatoes, besan ki Sev and pav it
is called Missal –Pav, one of the specialties of Maharashtra. This savory can
be enjoyed with roti/parantha/Bhakari(Indian bread of Millet) or Pav
(Unleavened bread).
Preparation Time: 10 min.
Cooking Time: 10 min
Servings: 5-6 large helpings.
Ingredients Required or Making Sprout Vegetable with
Gravy : (Cup measurement is by 150 ml. tea cup)
- 2 Cup Moong sprout /Sprouts of 100gm. Whole Green Gram
(Sabut Moong)
 |
| Moong Sprouts |
- 1 Tea cup finely cut Onion
 |
| Finely cut Onion |
- 1 Cup finely cut Tomatoes
 |
| Cut Tomatoes |
 |
| Cut Green Chilies |
- 1 Teaspoon Kasoori Methi (Dried leafs of Methi)
 |
| Kadi Patta (Curry Leafs) |
- 1/4Teaspoon Turmeric powder
- 1 tea spoon Olive oil/Any cooking oil
Direction For Making Moong Sprout Vegetable with
Gravy:
- Wash the sprouts and keep aside.
- Heat one teaspoon oil in a wok till smoking hot, Lower
the flame and add
- When the seeds have spluttered and the color of curry
leafs and green chili pieces change (It will take less than one min,) add
finely cut onions.
 |
| 1 ml. Oil being Heated |
 |
| Onion being sauteed with Seasoning |
- Cook on low flame till they turn transparent not golden
brown.
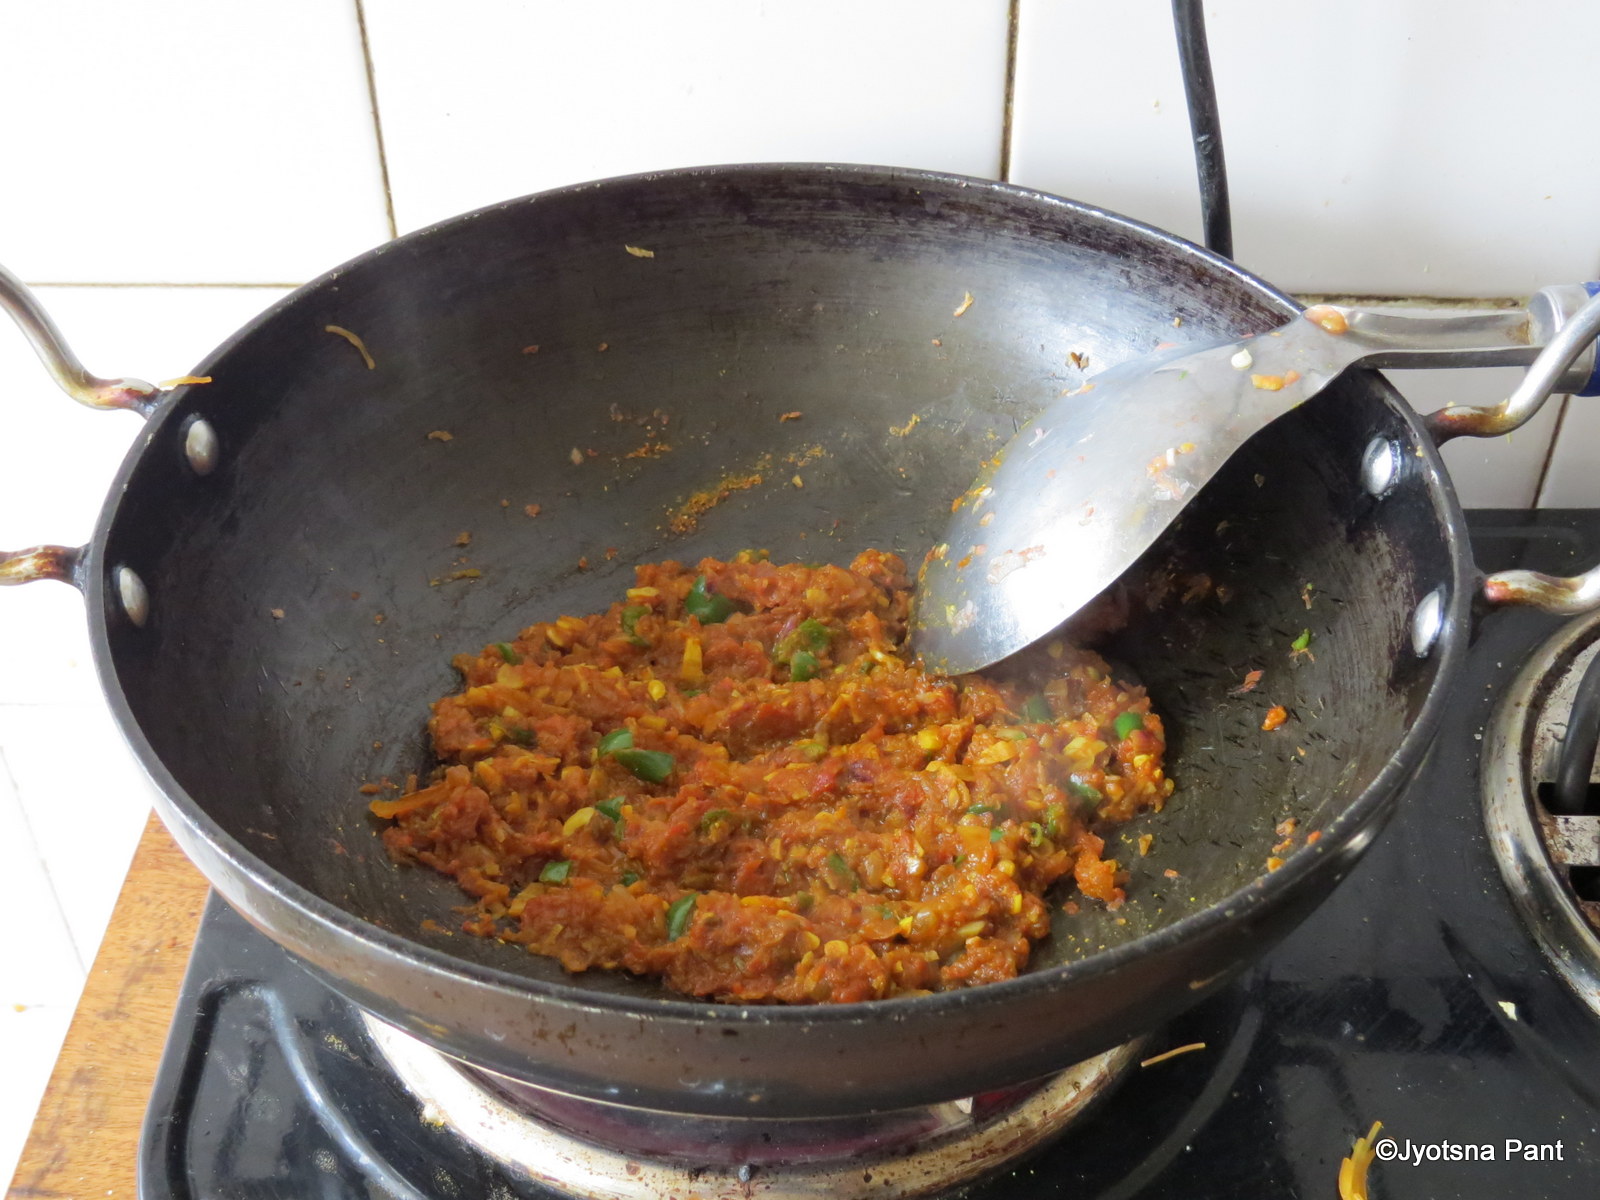
- Salt and cook on low flame till the tomatoes become soft
and the mixture starts leaving the edges of wok.
 |
| Masala Ready For Sprouts to be Added |
- Add sprouts and cook for 2-3 min. only with regular stirring.
 |
| Sprouts added and Being Cooked On Low Flame |
- Add 300 ml. water and bring the flame to high.
 |
| Water Added and Flame Brought to High |
- Give one boil add kasoori methi mix and cover.
 |
| Kasoori Methi Added |
- Switch off the gas and let it stand for 10 min.
 |
| Sprouts Savory |
- Take out in a serving Bowl and serve hot sprout vegetable
with roti/parantha/Jowar or bajara Bhakri/pav.
 |
| Sprouts Savory |
- Add 4-5 tea spoons of Besan ki Sev. Top it up with1-2 finely cut onion and 1-2 tea spoon tomato. Wedge of lemon and a green chili. Your Missal is ready. Serve it with Pav.
Tips:
- Never cook sprouts too much its nutrients get destroyed
and it becomes hard and chewy.
- Taste the green chilies before adding as the hotness of
chilies changes with the different variety.
- Check for the spiciness of vegetable before adding red
chili powder.
- As Kasoori methi is added thus Cilantro (Coriander
leaves) are not required for garnishing.
Suggested variations:
- Mixture of Matki /Moth/Mat/dew beans/Turkish beans, सबूत मसूर /Black lentil/lens culinaris, yellow peas, black gram can be mixed with green gram before soaking, the Sprout of this mixture is extremely tasty and healthy.
- If you do not wish to put onions then 2 teaspoon of
coriander seeds (Dhaniya powder) should be added once tomatoes are cooked. Do not put coriander seeds powder directly to the oil.
- 10-15 seeds of ground nut can be roasted, and crushed coarsely after removing the peel and added just before serving to add crunchyness.
- Cilantro (Coriander leafs) can be taken for garnishing,
but if cilantro is being used avoid kasoori methi.
 |
| Finely Cut Cilantro |
- Matki, or any other sprouts can be made the same way.